Garage door installation
Residential Garage Door Installation: A Wichita Homeowner’s Planning Guide
A new garage door changes more than the view from the driveway. It becomes part of the home’s daily entrance, weather boundary, security routine, storage plan, and automatic-access system. The best residential garage door installation starts with a careful look at the opening and the household, then turns those facts into a complete written scope that can be measured, installed, tested, and explained without last-minute guesswork.
Before ordering a residential garage door, document the opening, headroom, sideroom, backroom, jambs, floor, framing, electrical conditions, opener, and nearby obstructions. Choose the door as a complete system—including sections, track, springs, cables, hardware, seals, glazing, reinforcement, and opener compatibility—rather than comparing appearance or insulation labels alone. Require a written installation scope, approve changes before extra work begins, and finish with a homeowner walkthrough covering manual balance, automatic operation, protective devices, emergency release, controls, care, product records, and warranty terms.
A new garage door changes more than the view from the driveway. It becomes part of the home’s daily entrance, weather boundary, security routine, storage plan, and automatic-access system. The best residential garage door installation starts with a careful look at the opening and the household, then turns those facts into a complete written scope that can be measured, installed, tested, and explained without last-minute guesswork. Continue with the complete library of garage door installation guides when you want to compare related decisions.
Key takeaways
- The opening and surrounding structure determine what can be installed safely; a catalog style cannot solve a clearance or framing conflict.
- Door construction, insulation, glazing, weather seals, hardware, and opener compatibility should be evaluated as one residential system.
- A useful proposal names the exact product and separates included installation work from framing, electrical, trim, painting, disposal, and other exclusions.
- Homeowner preparation should create a clear, safe work zone without touching springs, cables, bottom brackets, or other high-force components.
- Final acceptance should include manual and automatic testing, a control handoff, model and warranty records, and a short care plan.
Begin with the opening your house actually has
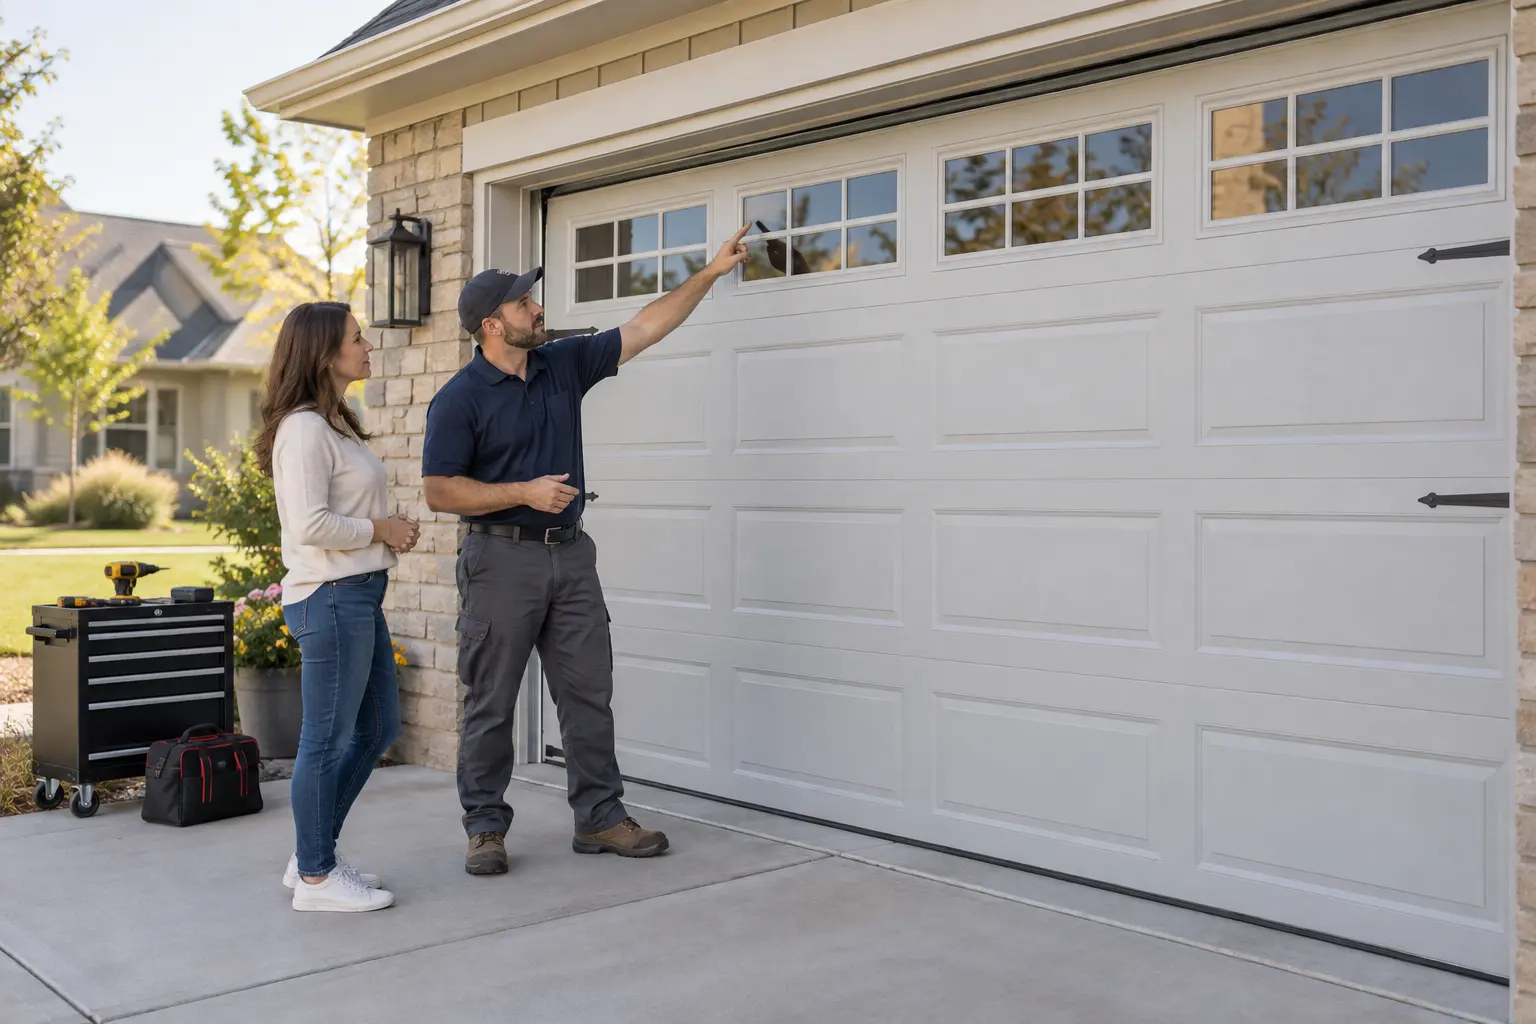
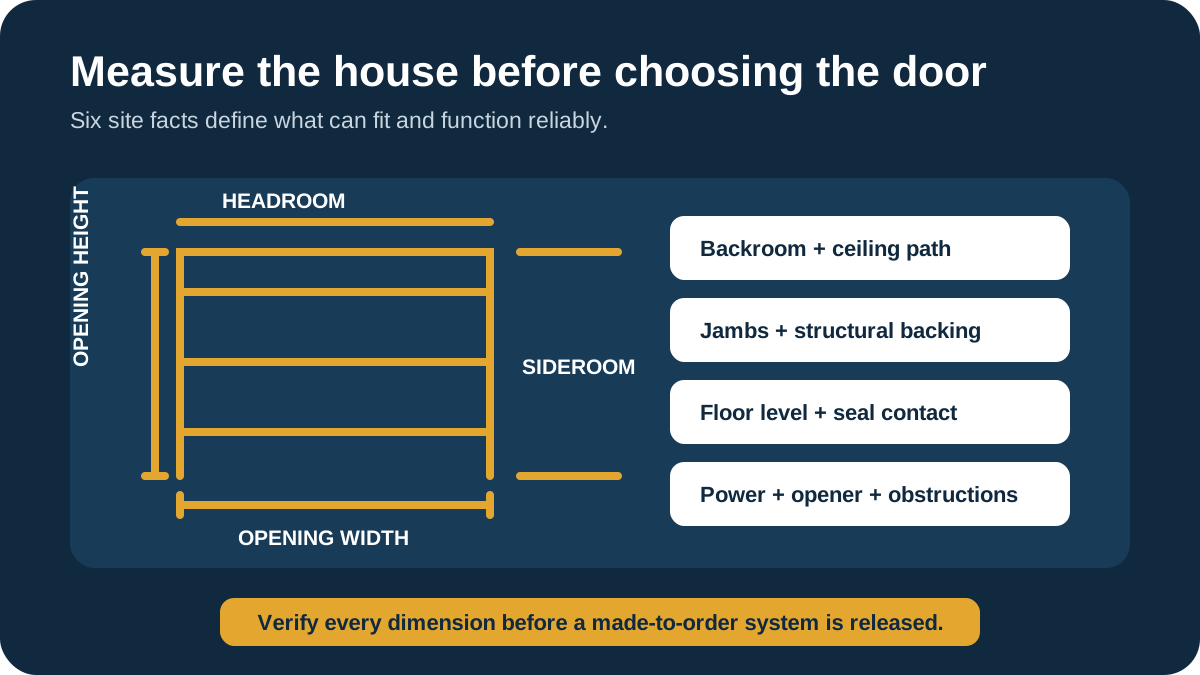
Residential garage doors may look interchangeable from the street, but the opening behind each one has its own geometry. A technician needs the finished opening width and height, plus headroom above it, sideroom beside it, and backroom along the ceiling.
Those measurements affect the section layout, track arrangement, spring system, opener rail, and the space the door occupies as it travels. A half-hidden beam, storage rack, attic access panel, light fixture, duct, or sloped ceiling can matter more than the color swatch sitting on the kitchen counter. If this condition matches your situation, review the service scope for residential garage door installation.
The supporting surfaces deserve the same attention. Wood jambs can be split, softened, out of plumb, covered by trim, or interrupted by masonry and steel. The header and ceiling may not offer reliable fastening where a new track or opener support needs to land.
The floor can slope, heave, or leave a gap that no standard bottom seal will disguise. Good planning records these conditions before the product is ordered, because field improvisation is a poor substitute for compatible hardware and sound attachment points.
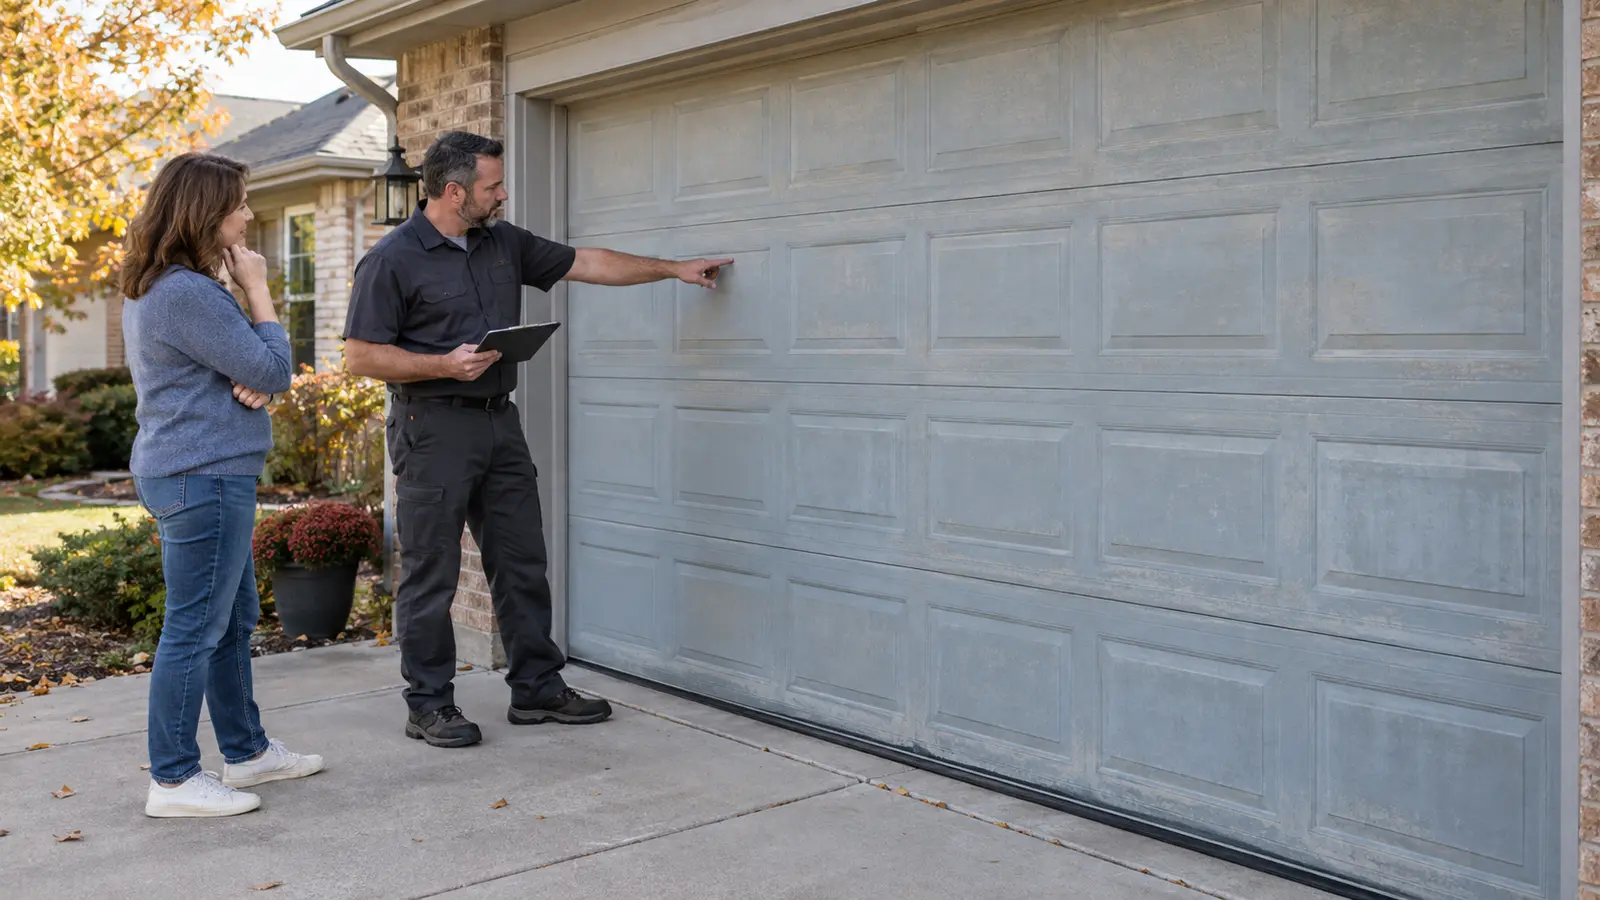
Ask for an opening survey that distinguishes measurements from assumptions. It should note the door size, track type, ceiling conditions, structural backing, floor variation, nearby utilities, existing opener, outlet, wall control, exterior trim, and any visible water or pest damage.
Photographs help preserve what was observed, but they do not replace an on-site measurement when fit is critical. The practical goal is simple: the installer and homeowner should be talking about the same opening, not two different versions of it.
Opening and clearances
Confirm width, height, headroom, sideroom, backroom, floor condition, and travel-path obstructions.
Jambs and structure
Identify where tracks, spring hardware, reinforcement, and the opener can be attached reliably.
Power and surroundings
Record the outlet, controls, lights, storage, access panels, ducts, vehicles, and finished surfaces.
Choose construction and insulation for the way the garage is used
Door construction affects stiffness, weight, dent resistance, interior appearance, noise, and how the complete system must be counterbalanced. A basic non-insulated steel door can suit a detached utility garage, while a multi-layer insulated door may be more comfortable beside living space or a room used for projects.
Windows change daylight and appearance but also influence privacy, section weight, and thermal performance. None of those choices is automatically best; the right answer depends on the opening, the household’s priorities, and the manufacturer’s documented configuration. If this condition matches your situation, review the service scope for garage door installation services.
Insulation deserves a calm comparison instead of a contest over the largest number in a brochure. R-value describes resistance to heat flow for a material or assembly under stated conditions, and the FTC R-value Rule (opens in a new tab) explains the disclosure framework used for home-insulation claims.
A garage door also includes joints, perimeter seals, glazing, track clearances, and a large opening that moves. Ask what the published value applies to, how the door is constructed, and what sealing is included rather than assuming one label predicts the temperature of the entire garage.
Think about the garage as a transition space. If it connects to a mudroom, bedroom, workshop, laundry area, or frequently used interior door, quieter hardware and improved sealing may be valuable even when the garage is not conditioned. If the space is detached and used mainly for storage, durable operation and serviceable parts may rank higher.
Be honest about wind exposure, direct sun, moisture, lawn equipment, children’s bicycles, and the likelihood of an occasional basketball encounter. A useful door fits real life, including the parts of real life that leave small dents.
| Decision | Questions to ask | What it can affect |
|---|---|---|
| Construction | How many layers, what materials, and what reinforcement? | Weight, stiffness, dent resistance, interior finish, and hardware selection |
| Insulation | What does the published value cover and how are joints sealed? | Comfort, sound, section thickness, weight, and cost |
| Windows | Which section, glass type, privacy level, and replacement path? | Daylight, appearance, privacy, weight distribution, and thermal performance |
| Finish | Factory finish, color limits, care requirements, and touch-up method? | Curb appeal, maintenance, heat exposure, and long-term appearance |
| Weather sealing | Bottom seal, perimeter stop, floor gaps, and drainage conditions? | Drafts, light, water entry, pests, and closing contact |
Treat style as part of the house, not a standalone sample
A garage door often occupies a large share of the front elevation, so small sample panels can be misleading. Review the proposed design against the roofline, siding or masonry, trim, windows, entry door, exterior lighting, driveway, and neighboring openings. A decorative overlay that looks subtle in a brochure may feel busy across a double-wide door.
A plain flush panel may look crisp on a contemporary home and unfinished on another. Scale, shadow lines, window placement, and hardware all change when the design is viewed from the curb. If this condition matches your situation, review the service scope for garage door opener installation.
Color deserves the same whole-house view. White is not one universal white, and a dark finish can relate differently to direct sun, surrounding materials, and manufacturer limitations. Ask whether the selected color is factory-applied, field-painted, or restricted by the product warranty.
If painting is planned later, identify who prepares the surface, which coating system is permitted, and whether edges or interior faces need attention. A photo mockup can help with direction, but a physical sample observed in outdoor light is usually more dependable for the final decision.
Windows should align with both architecture and household routines. The top section is common, but other arrangements may be available depending on the system. Consider the sightline from the street and from inside the garage, especially if valuables, tools, or vehicles are stored near the opening.
Decorative glass, simulated divided lites, and inserts can create a strong look without making every house look like it borrowed the same costume. The goal is not to chase a trend; it is to choose a door that still makes sense after the installation truck leaves.
Make the proposal identify the complete installed system
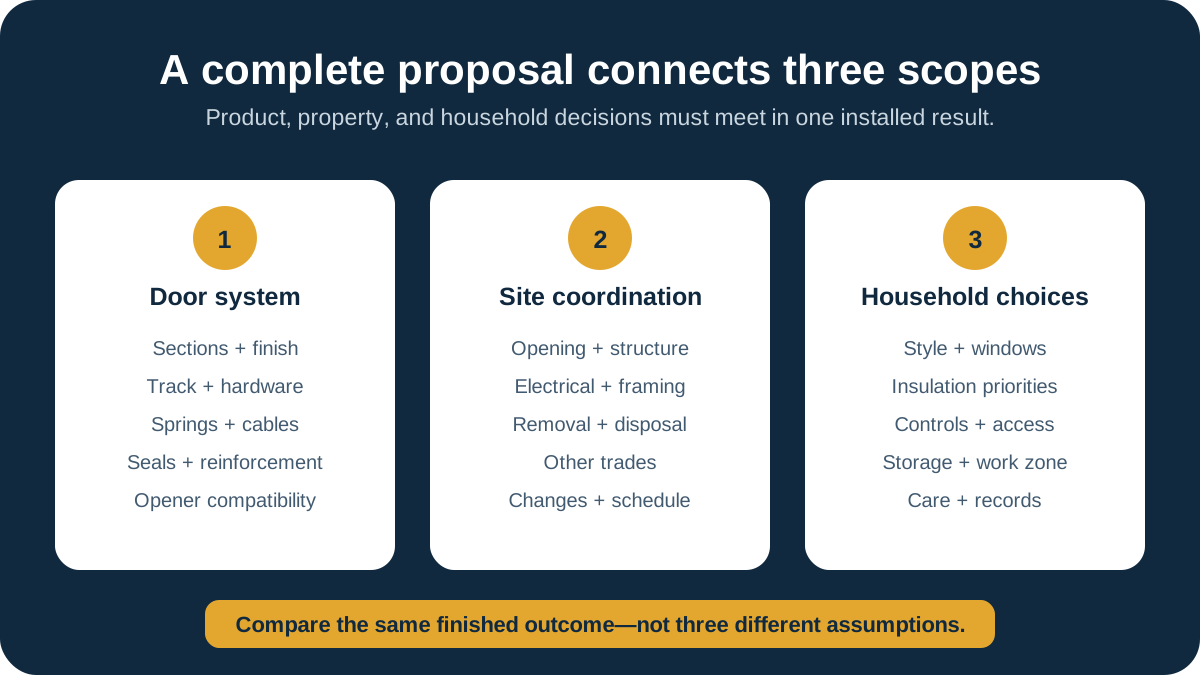
A residential garage door proposal should name more than a design family and a total price. It should identify the manufacturer, model or collection, door size, section construction, insulation, exterior and interior finish, window design and glass, track arrangement, spring system, hardware package, reinforcement, seals, handles, locks, and opener compatibility.
It should also state whether permits or approvals are expected, whether the product is made to order, and which substitutions require written consent. Specificity turns a pleasant sales conversation into a scope that can be checked.
Installation work needs its own definition. Ask whether the price includes removal and disposal of the old door, existing opener disconnection and reconnection, new track and spring hardware, jamb preparation, perimeter seal, bottom seal, reinforcement, cleanup, programming, commissioning, tax, and a homeowner walkthrough.
Reusing old track simply because it is already there can create compatibility problems; the sections, track, hardware, and counterbalance are designed to work together. Any proposed reuse should be identified, justified, and compatible with the new system.
Then separate the items outside the standard door scope. Framing repair, rot remediation, masonry work, a new outlet, circuit correction, drywall access, painting, trim replacement, alarm contacts, camera relocation, shelving changes, or unusually difficult access may require added work.
The proposal should say who owns each item and when it must be completed. If field conditions reveal something new, require a written change that describes the observed condition, recommended remedy, price, and schedule effect before the work proceeds.
- Exact door product, size, construction, finish, glazing, track, springs, hardware, reinforcement, and seals
- Removal, disposal, delivery, installation, opener coordination, controls, testing, cleanup, tax, and closeout
- Named exclusions for framing, electrical, masonry, drywall, paint, trim, storage, alarm, or other trades
- Change-order process for hidden damage, incompatible existing equipment, or site conditions found after removal
- Product lead time, scheduling assumptions, payment milestones, labor coverage, product coverage, and service contact
Coordinate the new door with the opener and household controls
A new residential door and an automatic opener share the same moving system, but they are not the same product. The door must first travel smoothly and remain correctly counterbalanced by its spring system.
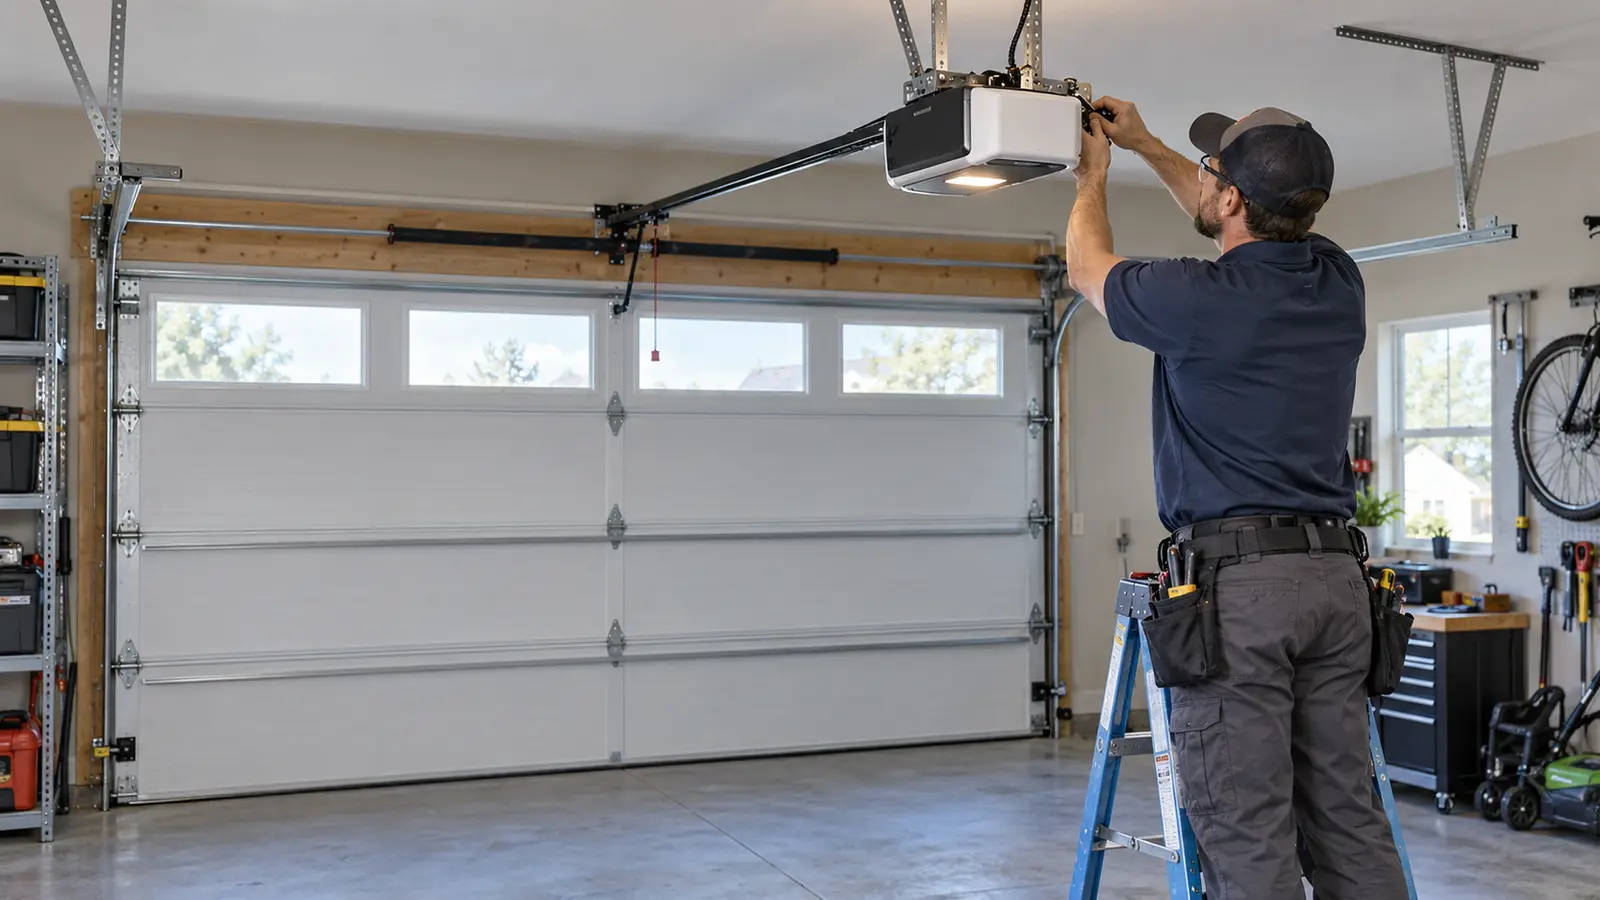
The opener then moves and controls that balanced door through a compatible rail, arm, bracket, or shaft-mounted arrangement. If the existing opener is being retained, the installer should confirm its application, condition, rail length, mounting, controls, protective devices, and ability to work with the new door’s height, weight, and reinforcement.
Door changes can expose opener problems that were easy to ignore before. A weak top section may have been flexing, the rail may be poorly supported, the arm geometry may be wrong, or old photo eyes may be misaligned.
A new door should not be commissioned by increasing force until those symptoms disappear. The correct sequence is to complete the mechanical installation, verify controlled manual travel and balance, connect compatible automation, set limits and force according to the equipment instructions, and then test protective behavior.
Controls belong in the planning conversation too. List the wall station, remotes, exterior keypad, vehicle integration, battery backup, lighting, camera, app, guest access, and account ownership expected at closeout. Connected features can be convenient, but the household still needs a reliable local control and a plan for power or internet interruptions.
If the garage has no alternate entry door, discuss emergency access before the old system is removed. It is easier to solve that problem while everyone is planning than during the first outage in a rainstorm.
Balanced door first
Verify smooth manual travel, correct counterbalance, secure hardware, and appropriate reinforcement.
Compatible opener second
Confirm the model, rail or mounting layout, connection, limits, force, and protective devices.
Controls and recovery
Transfer remotes, keypad codes, app ownership, emergency-release knowledge, and outage access.
Prepare the garage without creating a safety problem
The homeowner’s best preparation is usually space, access, and communication. Move vehicles, bicycles, lawn tools, toys, hanging storage, and fragile items far enough from the opening and ceiling work area. Provide a clear path from the driveway to the garage and identify which household entrance remains available while the large opening is occupied.
If pets or children normally pass through the garage, plan another route. A tidy work zone is not glamorous, but neither is explaining why a favorite scooter became an installation-day obstacle course.
Do not loosen tracks, remove bottom brackets, unhook cables, release spring tension, or dismantle the existing door to save time. Those connected components may carry significant force or allow the door to move unexpectedly.
Leave the high-force work to trained garage-door technicians with the tools and procedures for controlling the system. Homeowner preparation can include removing ordinary stored items and sharing access information; it should not include taking apart the largest moving assembly in the house.
Before the appointment, confirm arrival communication, parking needs, power availability, restroom expectations, pets, gate access, alarm contacts, and who can approve a change if the named homeowner is away. Photograph nearby finished surfaces and move irreplaceable belongings.
If another trade must repair framing or electrical conditions, confirm that the work is complete and accessible before the door crew arrives. A short pre-installation checklist prevents a surprising number of schedule delays without turning the household into a construction management firm.
| Before installation | Homeowner action | Leave to the technician |
|---|---|---|
| Work zone | Move vehicles, stored items, pets, and routine foot traffic | Control the door, remove hardware, and establish safe equipment staging |
| Access | Share gate, driveway, electrical-panel, and contact details | Choose equipment placement and protect the active work area |
| Other trades | Complete approved framing or electrical work on schedule | Verify that the finished conditions support the door system |
| Existing system | Describe symptoms and provide available records | Release springs, handle cables, remove sections, and disconnect unsafe components |
| Decisions | Name the person authorized to approve documented changes | Explain findings, options, cost, and schedule effect before extra work |
Know what a controlled installation day should include
Installation normally begins with confirming the product, scope, opening, and work area before the old door is removed. The crew should protect nearby surfaces, control the existing door and spring system, and stage parts so the garage does not become a loose-hardware scavenger hunt.
After removal, hidden jamb, header, floor, or framing conditions may become visible. If those conditions change the approved work, the technician should stop, show the finding, and document the correction rather than burying it behind trim.
The new system is assembled in a sequence that keeps fit and force under control. Sections, hinges, rollers, tracks, supports, spring components, cables, bottom fixtures, reinforcement, and seals must match the product and opening.
Fasteners need sound attachment, tracks need appropriate alignment and spacing, and the complete door needs predictable movement. The DASMA garage-door system safety tips (opens in a new tab) reinforce why installation and high-tension adjustments belong with trained door-system technicians, not an improvised weekend experiment.
After the mechanical door is installed, the technician should check travel and balance before normal opener operation. The opener connection, rail or wall-mounted mechanism, reinforcement, controls, photo eyes, travel limits, and force settings can then be commissioned as applicable.
Exterior and interior seals should be inspected with the door closed, without forcing the door against an uneven floor. Cleanup includes packaging, old materials covered by the scope, loose fasteners, and a final visual review of the garage and driveway.
Accept the installation by watching the whole system work
A finished door is not accepted merely because it completed one automatic cycle. Watch the door move from fully closed to fully open and back again, noting smoothness, alignment, section movement, track contact, unusual vibration, scraping, cable behavior, and how the bottom seal meets the floor.
The technician should demonstrate controlled manual operation and explain what normal balance looks like for the installed system. If the door feels unexpectedly heavy, drifts sharply, binds, or moves crookedly, it needs correction before routine use.
Automatic operation requires its own demonstration. Confirm wall controls, remotes, keypad, vehicle integrations, lighting, battery features, app ownership, notifications, travel limits, and any promised connected functions.
Protective devices and reversal behavior should be tested using the current manufacturer instructions, not bypassed because alignment takes time. Learn how the emergency release works and when not to use it—for example, a visibly crooked, partly open, or unstable door may move unpredictably if disconnected.
Use the walkthrough to transfer information, not only keys and remotes. Collect the door and opener manufacturer, model, serial information, manuals, finish-care instructions, warranty documents, paid invoice, change orders, and the provider’s service contact.
Ask which sounds, movements, gaps, or control behaviors should prompt a call. A five-minute explanation can prevent months of mystery adjustments, especially when every family member has a different theory about why holding the remote button longer should make the door stronger.
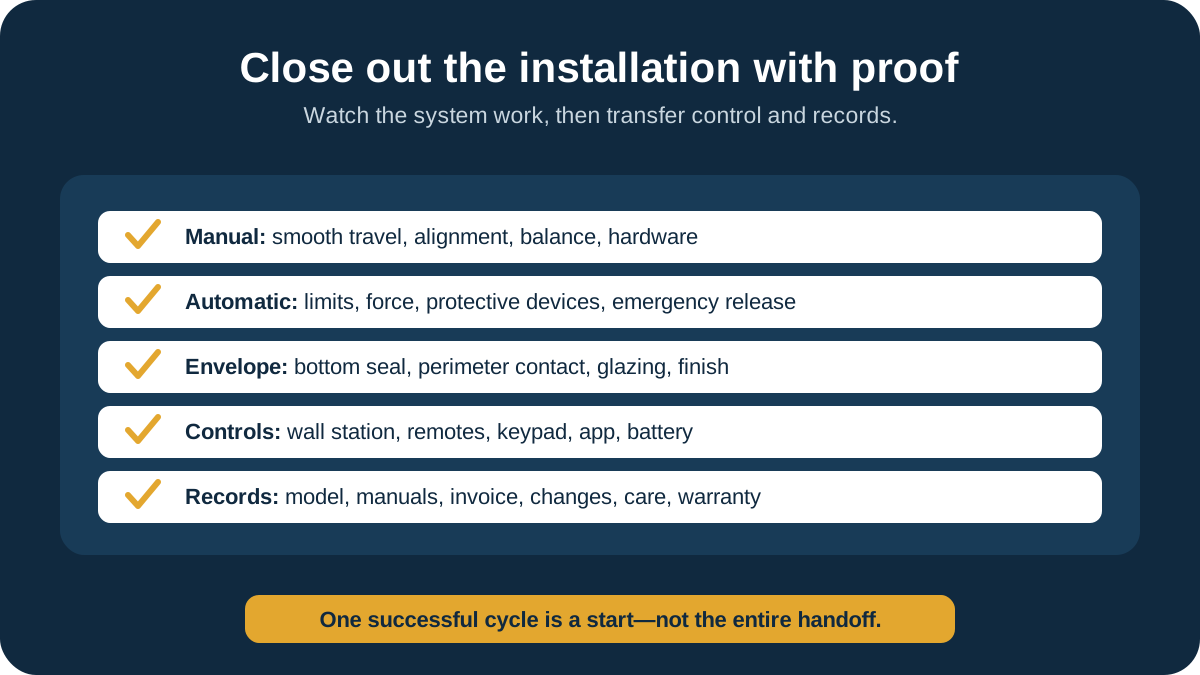
- Smooth complete travel, appropriate alignment, stable sections, secure hardware, and acceptable perimeter contact
- Controlled manual operation and demonstrated balance before relying on the automatic opener
- Correct limits, force, protective-device response, controls, lighting, battery, and connected features
- Emergency-release demonstration plus guidance about conditions where disconnection may be unsafe
- Product identifiers, manuals, care instructions, warranties, invoice, approved changes, and service contact
Plan simple care without turning maintenance into repair
The homeowner’s maintenance role is mostly observation, cleanliness, and following product instructions. Keep the photo-eye area clear, watch the door through complete cycles, and notice changes in sound, speed, gaps, vibration, or alignment.
Clean painted surfaces and windows using approved methods, and keep leaves, gravel, ice, and stored items away from the bottom seal and tracks. If lubrication is recommended, use the specified product only at the locations named by the manufacturer or service provider.
Some components should remain outside the do-it-yourself boundary. Springs, cables, drums, bottom brackets, counterbalance adjustments, bent tracks, loose structural supports, and a door that is off track or unusually heavy can involve stored energy or unstable movement. Do not diagnose them by repeating cycles or changing opener force.
Stop normal operation, keep people and vehicles clear, and describe what changed to a technician. A wide photo from a safe location is helpful; placing a hand near a cable to make the photo more dramatic is not.
Schedule professional inspection or service according to the installed equipment, household use, and any changes you observe. Save the original scope and product information so future service begins with the correct system rather than guesses.
If the garage is remodeled, storage is added near the tracks, or an opener is replaced later, revisit clearances and compatibility. Residential garage door installation is a one-day event in many homes, but the system becomes part of daily life for years, and good records make that life much easier.
Watch and listen
Notice new noise, vibration, crooked travel, gaps, damaged seals, or changes in manual and automatic operation.
Clean and keep clear
Follow finish instructions and keep controls, photo eyes, tracks, seals, and the travel path unobstructed.
Know the safety boundary
Leave springs, cables, bottom brackets, counterbalance, unstable doors, and structural corrections to a technician.
Compare residential installation estimates on clarity, not theater
The most useful estimate is not necessarily the longest or the shortest. It gives the homeowner enough detail to compare the same outcome across providers: the exact door, complete hardware, site preparation, removal, installation, opener coordination, seals, controls, testing, cleanup, documentation, schedule, and warranty.
A broad promise of premium installation can still hide basic omissions. A clear scope makes it possible to ask a focused question before the deposit instead of discovering a missing keypad or disposal charge at closeout.
Use photographs and notes to request comparable proposals, but allow the technician to verify conditions that affect fit or safety. Ask each provider what assumptions are built into the price, which existing components will remain, who handles other-trade work, how changes are approved, and what the final demonstration includes.
If one estimate is substantially different, look for scope differences before assuming it is automatically a bargain or an overcharge. The line items often explain more than the total.
For Wichita homeowners, the best residential garage door installation plan connects the appearance seen from the street with the system used from inside the garage every day. It respects the opening, the structure, the household routine, and the equipment manufacturer’s requirements.
Heartland can assess the site, explain compatible options, and provide a written scope for the door and opener work that applies. Bring the opening details and your priorities; the conversation should make the project clearer, not simply make the sales brochure thicker.
Frequently asked questions
Questions readers ask
What measurements are needed before ordering a residential garage door?
The installer typically verifies the finished opening width and height, headroom, sideroom, backroom, floor condition, jambs, header, structural backing, track path, ceiling obstructions, opener layout, and nearby utilities. Product-specific requirements can add other measurements. Photographs are useful for planning, but field verification is important before a made-to-order door is released.
Should the old garage-door tracks be reused with a new door?
Not by default. Sections, track, rollers, hardware, springs, weight, thickness, and clearance requirements are designed as a system. Any proposed reuse should be specifically identified and confirmed compatible with the new door manufacturer’s requirements; otherwise the new compatible track and hardware should be included in the scope.
Does a higher R-value guarantee a warm garage?
No. R-value is useful product information about resistance to heat flow, but garage comfort also depends on walls, ceiling, floor, joints, windows, perimeter seals, air leakage, sun, wind, and whether the garage is conditioned. Compare what the published value covers and the complete installed sealing details, not one number alone.
Can an existing opener be connected to a new residential garage door?
Sometimes, after the exact opener, rail or mounting arrangement, condition, capacity, controls, protective devices, and compatibility with the new door are verified. The new door should first operate smoothly and remain correctly balanced by its spring system. The opener should move a sound door, not compensate for mechanical or structural problems.
What should be tested before the installation is accepted?
The closeout should demonstrate smooth complete travel, alignment, manual operation and balance, automatic limits and force, protective-device behavior, wall control, remotes, keypad, lighting, battery or connected features when included, emergency release, and perimeter sealing. The homeowner should also receive model information, manuals, care instructions, warranty documents, invoice, approved changes, and the service contact.
The right solution depends on the specific lock, door, vehicle or garage door system. Check the Wichita-area service pages, then call or send the details for an evaluation.