Garage door installation
Garage Door Installation: What Wichita Homeowners Should Expect
Garage-door installation day should feel organized, not mysterious. The real work begins before the old door comes down: the opening, structure, clearances, product, hardware, electrical needs, access plan, and final testing all have to agree. Knowing what a careful installation includes helps a Wichita homeowner prepare the garage, compare the promised scope with the work performed, and catch incomplete handoff details before the crew leaves.
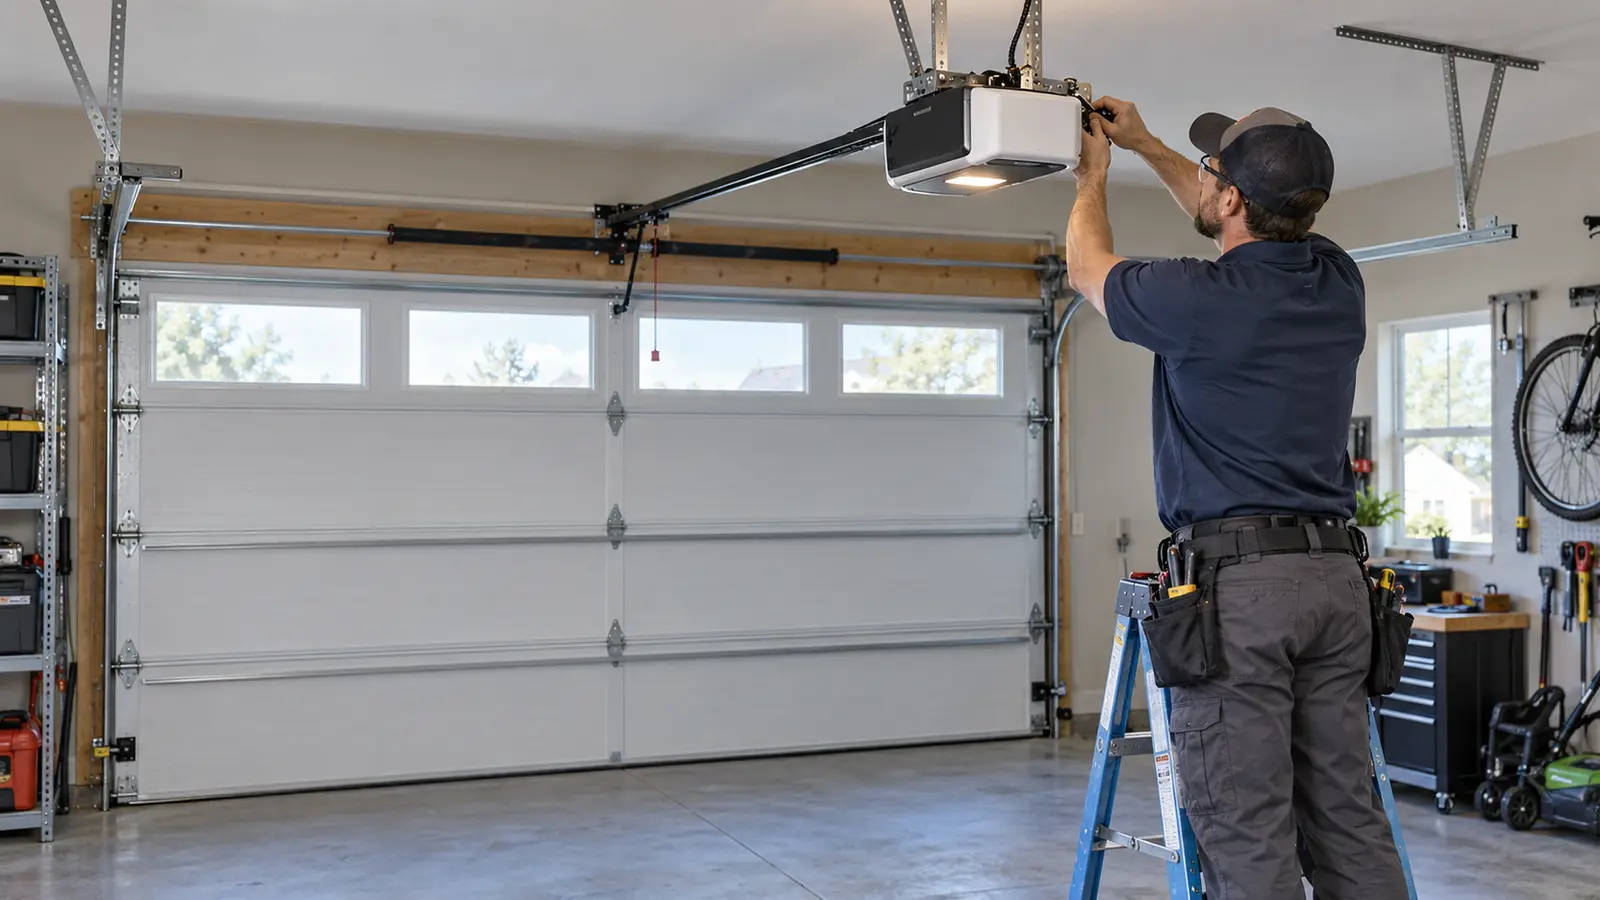
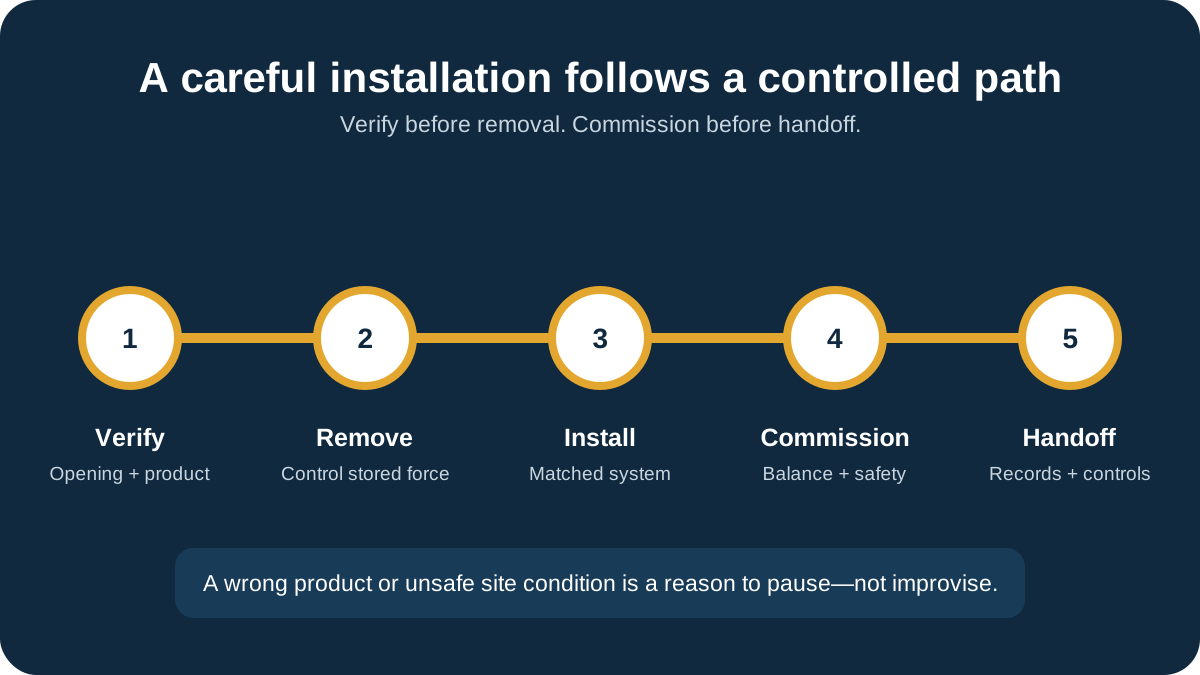
A professional garage-door installation normally includes a pre-installation verification, safe removal of the old door and tensioned hardware, preparation of the opening, installation of the matched sections, tracks, rollers, cables, springs, seals and reinforcement, opener connection or installation when included, balance and travel adjustment, protective-device testing, cleanup, and a homeowner walkthrough. Clear the work area beforehand, keep people and pets away, and do not approve the job until the door operates smoothly and the written scope, controls, manuals and warranty details have been reviewed.
Garage-door installation day should feel organized, not mysterious. The real work begins before the old door comes down: the opening, structure, clearances, product, hardware, electrical needs, access plan, and final testing all have to agree. Knowing what a careful installation includes helps a Wichita homeowner prepare the garage, compare the promised scope with the work performed, and catch incomplete handoff details before the crew leaves. Continue with the complete library of garage door installation guides when you want to compare related decisions.
Key takeaways
- The final field measurement and product verification should happen before dismantling begins.
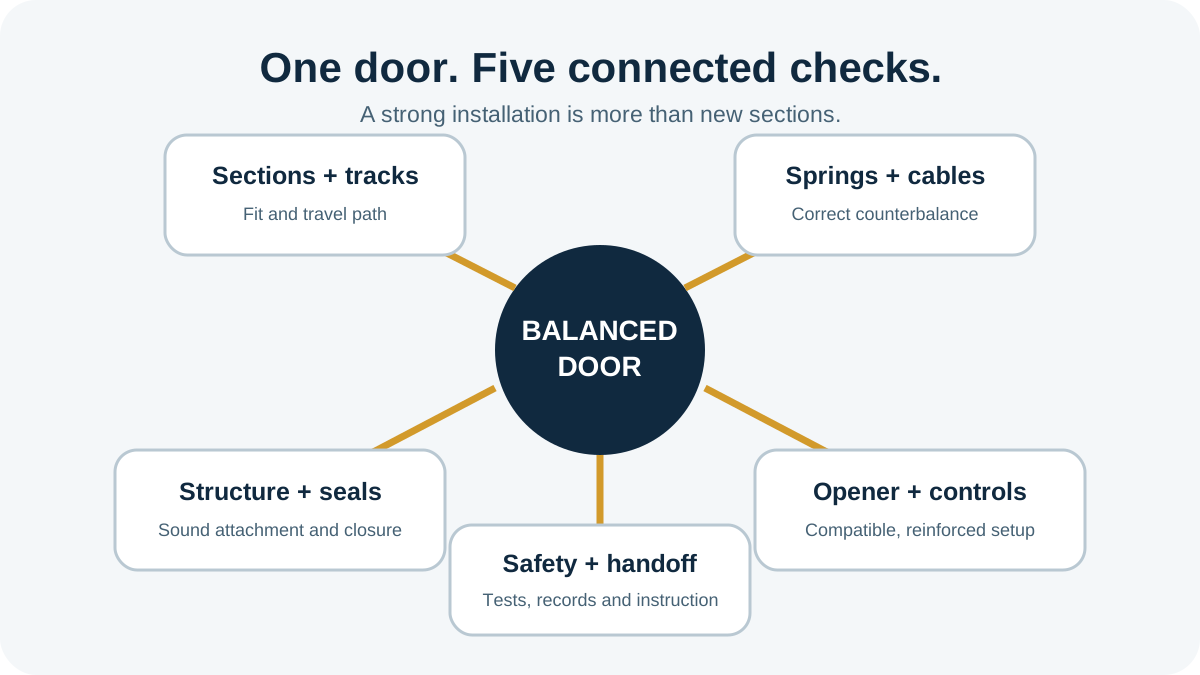
- Door sections, tracks, counterbalance hardware, reinforcement and opener connection must work as one system.
- Homeowners should clear access and valuables but should not remove springs, cables, tracks or the old door.
- A complete closeout checks manual balance before relying on the opener and verifies protective functions afterward.
- Record the exact product, controls, installer, warranty provider and maintenance instructions before sign-off.
Before installation day, make the written scope specific
A useful installation proposal names the exact door rather than promising a generic size and style. Look for the manufacturer, product line, width, height, section construction, insulation description, finish, window pattern, track configuration, spring system, hardware package, weather seals, reinforcement, opener work, controls, removal, disposal, tax, schedule, warranty provider, and exclusions. If trim, framing, masonry attachment, electrical work, painting, or permit coordination is outside the installer’s scope, that needs to be visible before arrival—not discovered after the old door is on the truck. If this condition matches your situation, review the service scope for garage door installation services.
Confirm which conditions could legitimately change the price. A concealed damaged jamb, rotten backing, out-of-square opening, unexpected low-headroom condition, or incompatible existing opener may require a revised scope, but the technician should show the condition and explain the change before doing extra work.
A vague allowance to add whatever seems necessary is not the same as a controlled change order. You should know the finding, proposed remedy, price, and effect on schedule before approving it.
Timing also deserves a realistic conversation. Product lead time, special windows, finish, custom sizing, weather, electrical coordination, and disposal can affect the day. Ask whether the opening will be unsecured at any point and what happens if installation cannot be completed.
For an attached garage, identify the household’s alternate entry and vehicle plan. For a detached garage, decide how tools, valuables, and access will be controlled while the door is out of service.
Exact configuration
Record the model, size, construction, finish, windows, track and hardware package.
Included and excluded work
Separate the door system from framing, electrical, finish and other-trade corrections.
Approval before extra work
Require an observable finding, written remedy, added price and schedule effect.
Expect a final opening and site verification
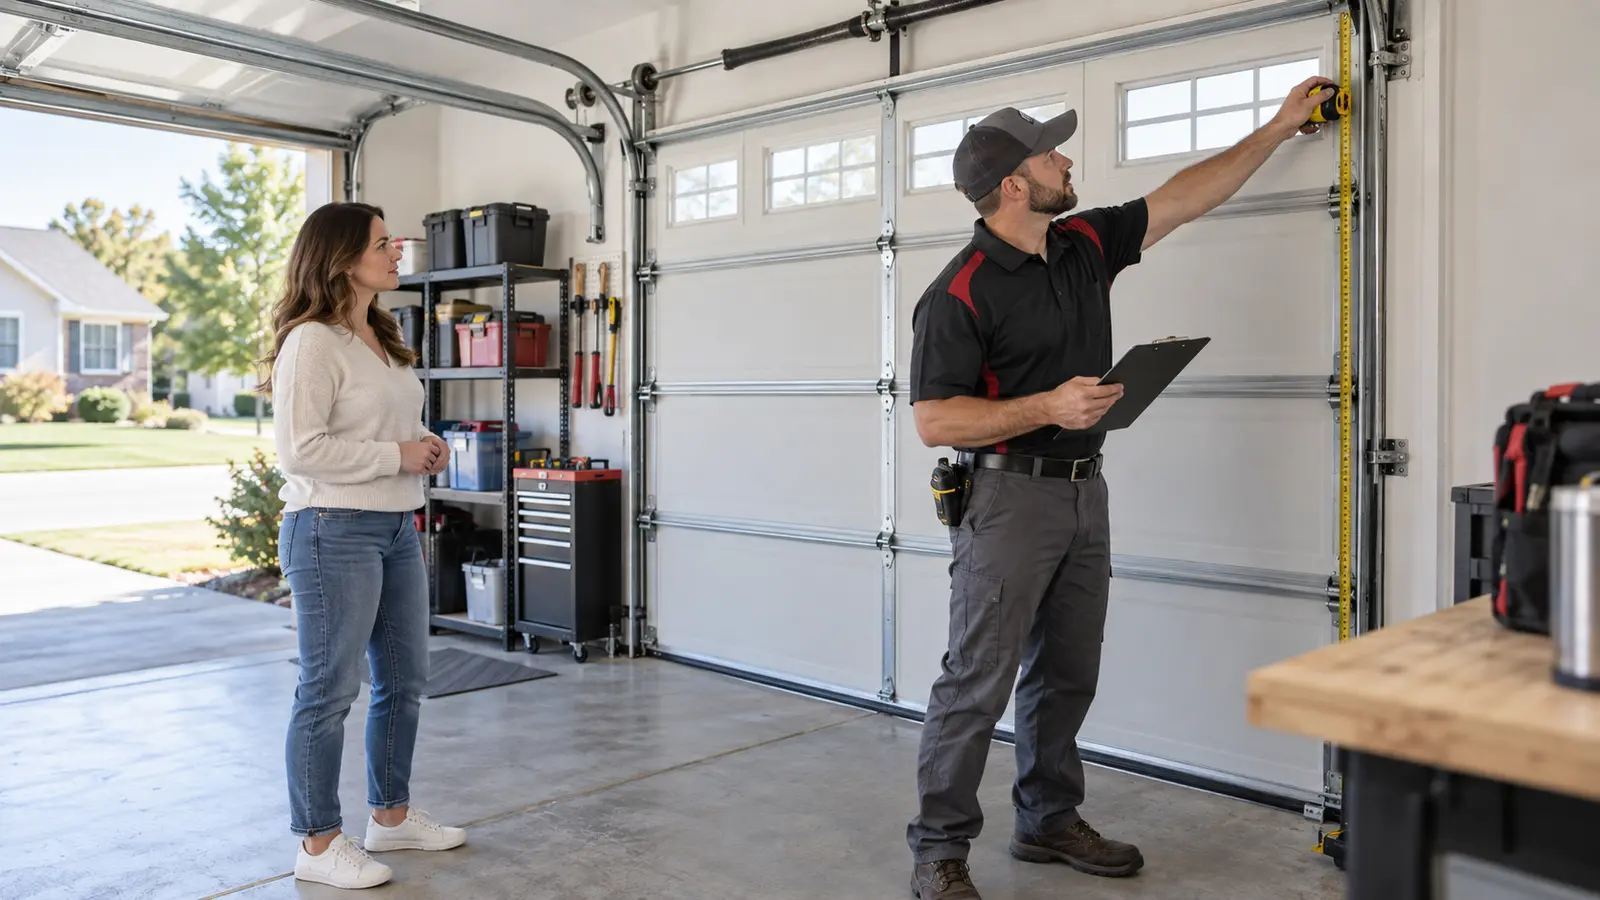
Even when measurements were taken earlier, the installer should verify the opening and delivered product before removing the existing door. Important checks include finished opening width and height, headroom above the opening, sideroom beside it, backroom along the ceiling, jamb and header condition, track path, floor slope, ceiling obstructions, storage racks, lights, ducts, outlets, opener location, and the structural backing that will receive brackets and track supports. The cartons and labels should match the approved model, size, color, window layout, and hardware configuration. If this condition matches your situation, review the service scope for residential garage door installation.
This pause is not wasted time. It prevents a wrong-width section, unsuitable track arrangement, missing reinforcement, or color error from becoming a half-finished opening.
A homeowner does not need to supervise every fastener, but it is reasonable to confirm the visible product and any major scope assumptions before demolition. If the site differs materially from the estimate, the installer should stop and explain the options rather than force a standard configuration into a nonstandard opening.
The inspection should also identify separate building problems. Water-damaged jambs, loose masonry, badly uneven floors, missing framing, and drainage issues may affect fit and seals but are not automatically repaired by a new garage door. The proposal should say who owns each correction.
A new bottom seal can follow an ordinary slab variation; it cannot turn a sunken or badly damaged threshold into a level surface. Clear ownership keeps the door installer from promising carpentry, concrete, or electrical results that were never priced.
| Check | What should be confirmed | Why it matters |
|---|---|---|
| Opening | Width, height, square and floor condition | Sections and seals need a predictable fit. |
| Clearance | Headroom, sideroom, backroom and obstructions | Tracks, springs and opener need a clear operating path. |
| Structure | Sound jamb, header and attachment backing | Brackets and supports require dependable anchorage. |
| Product | Model, size, construction, finish and windows | Visible and performance choices must match the order. |
| Other trades | Framing, electrical, trim, masonry and drainage ownership | Excluded work should not become an installation-day surprise. |
The door and hardware should arrive as a matched system
A sectional garage door is not only a stack of panels. It relies on tracks, rollers, hinges, struts, lift cables, drums or pulleys, bearings, springs, brackets, fasteners, weather seals, and—when automatic operation is included—a properly reinforced opener attachment.
The component choices depend on the actual door’s dimensions, weight, construction, windows, track layout, and expected use. Similar-looking parts are not proof of compatibility, and old hardware should not be reused merely because it is already attached to the building. If this condition matches your situation, review the service scope for garage door opener installation.
Ask the installer to identify what will remain. Sometimes a compatible, serviceable opener can stay while the door and counterbalance system are replaced. Sometimes existing backing, perimeter trim, or an electrical outlet is retained.
Tracks, springs, cables, and attachment hardware need a more explicit compatibility decision because they carry and guide the new door. If the proposal says ‘reuse where possible,’ request a final list of what was actually reused and why it suits the installed system.
Reinforcement matters wherever force enters the sections. Windows, wider doors, wind-related options, and the opener connection can change strut or bracket requirements. The opener arm should connect to the reinforced location specified for the door, not simply the most convenient point on the top section.
This is one of those details that remains invisible until a section begins to bow. Correct work looks almost boring because the load path was planned before the remote button was pressed.
Prepare the garage without dismantling anything
The best homeowner preparation is ordinary and safe: move vehicles out, clear the floor near the opening, remove fragile or valuable items from the work zone, provide a clear route from the truck, unlock any needed gates, and identify the working outlet and breaker when opener work is included. Move bicycles, lawn equipment, hanging cords, sports gear, and storage bins away from the door and ceiling track path. If shelving or a ceiling rack conflicts with the approved layout, address that before the appointment rather than asking the crew to improvise around it.
Protect people as carefully as possessions. Keep children, pets, visitors, and unrelated workers away from the garage until the installer says the area is safe. Do not plan to use the opening as a walkway during removal or spring setup.
Tell the crew about pets that may slip through an open garage and about any person who depends on that route for mobility. A simple alternate-entry plan is far less stressful than negotiating passage through an active work zone.
Take a few date-stamped photographs of the closed old door, surrounding trim, driveway, and nearby property before work begins. Record existing damage you care about and remove small items that could be confused with installation debris.
This is practical documentation, not an invitation to hover. Give the technician the space to control tools, sections, and high-force components while remaining available for product verification, concealed-condition decisions, and the final walkthrough.
- Park vehicles outside and keep keys available.
- Clear the floor, side walls, ceiling track path and truck-to-garage route.
- Move valuables, fragile items, bicycles and loose storage out of the work zone.
- Keep children, pets and visitors away until the installer releases the area.
- Provide access to approved electrical points and decision-makers without attempting demolition.
Removal is a controlled high-force phase, not a DIY warm-up
The old door may look harmless while closed, but its springs and cables can still store significant energy. Removal generally requires the technician to disconnect automatic operation, control or release counterbalance tension with the correct procedures and tools, remove sections in a stable sequence, and dismantle the old track and hardware without allowing components to fall or twist.
The exact process varies by door design. Homeowners should stay out of the work area and should never loosen springs, cables, drums, bottom brackets, tracks, or opener attachments to ‘save time.’
DASMA garage-door safety guidance (opens in a new tab) reinforces the boundary around springs, cables, bottom fixtures, and other high-force components. The point is not that a homeowner cannot understand the system; it is that understanding does not remove stored energy, door weight, or the consequences of an uncontrolled part.
If you want to help, clear access, answer questions, and keep the work zone undisturbed. Leave tension release, section handling, and structural attachment to the trained crew.
Removal can reveal conditions that were hidden behind the track, stop molding, or old fasteners. Rot, cracked wood, damaged masonry, improvised shims, undersized backing, abandoned wiring, or an unexpectedly modified opening may change the plan.
The installer should stabilize the site, photograph or show the condition, and explain whether work can continue safely. If another trade is required, protecting the opening and property may become the sensible next step instead of rushing to complete the installation that day.
| Phase | Professional control | Homeowner role |
|---|---|---|
| Disconnect | Isolate automatic operation and assess the door’s stable position | Keep the opening clear and controls unused. |
| Counterbalance | Control stored spring and cable forces with the correct method | Do not touch tensioned hardware or brackets. |
| Sections | Remove the door in a supported sequence | Keep people, pets and property outside the work zone. |
| Hidden conditions | Document and evaluate newly visible damage | Review any scope change before authorizing extra work. |
| Disposal | Stage and remove included debris safely | Confirm what the written proposal includes. |
Installation follows a sequence that protects fit and balance
With the opening ready, the crew typically establishes the bottom section and vertical track relationship first, then adds sections, hinges, rollers, reinforcement, and the remaining track system in the product’s specified sequence. The installation must preserve appropriate clearances without allowing the door to rattle through loose tracks or bind against tight ones.
Track supports should be anchored to suitable structure, not thin finish material. Perimeter and bottom seals are fitted to the opening without being used to hide a door that is fundamentally out of alignment.
The counterbalance system is then installed and adjusted for the completed door. Door weight is affected by section construction, insulation, glass, reinforcement, and hardware, so spring selection belongs to the actual configuration. Cables should track correctly, the door should rise evenly, and rollers should remain properly seated through the curved and horizontal track.
The crew may make several controlled adjustments. That is normal commissioning work, not evidence that the wrong system was necessarily supplied.
Before an opener is asked to move the door, the mechanically completed door should be evaluated for smooth manual travel and balance according to the product and system requirements. An opener is not a substitute for proper counterbalance.
Using motor force to drag a heavy or binding new door can mask an installation problem while transferring stress to the top section, rail, trolley, or internal opener components. The hand-operated system should be sound first; automatic operation comes afterward.
Sections and tracks
The door must remain aligned and supported through the complete travel path.
Springs and cables
Counterbalance is selected and adjusted for the actual assembled door.
Manual operation first
Smooth mechanical travel and balance come before normal opener use.
Opener connection is part of commissioning, not the first test
When the existing opener remains, the installer should evaluate its compatibility, condition, rail and trolley, emergency release, controls, lifting capacity, attachment method, and safety features. A new door may differ in weight, height, reinforcement, or travel.
Reusing an opener can be reasonable when the manufacturer’s requirements and actual condition support it, but reusing a convenient attachment point without checking reinforcement is not enough. The proposal should distinguish reconnecting and adjusting an existing unit from installing a complete new opener system.
For a new opener, expect mounting, rail or wall-unit setup, correct door attachment, travel and force configuration, photo-eye placement and alignment, control programming, lighting or battery-backup setup when included, and a clear emergency-release demonstration. Wiring should be secured and protected rather than draped into moving parts. Wi-Fi or app enrollment is a separate function from mechanical commissioning; the door must operate safely even before anyone celebrates the phone notification.
The technician should test automatic travel only after the door is mechanically ready. That includes watching the entire opening and closing cycle, checking for rubbing or hesitation, verifying the door stops in the correct positions, and confirming that control inputs behave as promised. If the opener strains, the rail bows, the top section flexes unusually, or the door reverses without a clear cause, the answer is diagnosis and adjustment—not repeatedly increasing force until the symptom disappears.
Require protective-device testing and a useful walkthrough
Automatic garage-door operation needs a deliberate safety check. Photo eyes should be installed and aligned according to the opener manufacturer’s instructions, wiring and brackets should be secure, and the system’s protective behavior should be tested with the prescribed method.
The federal safety standard for automatic residential garage-door operators (opens in a new tab) explains the importance of entrapment protection and compliant operation. A technician should never solve a nuisance reversal by bypassing a protective device, raising sensors to an ineffective location, or applying excessive closing force.
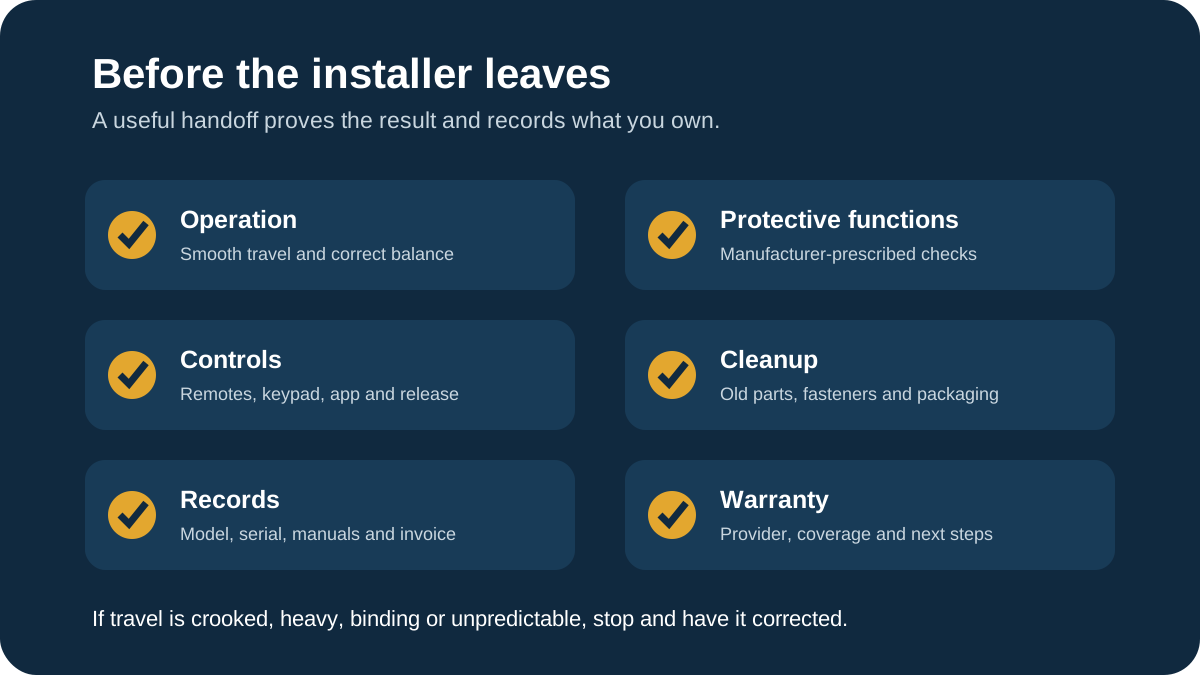
The walkthrough should cover wall controls, remotes, keypad or app functions included in the job, manual lock behavior if applicable, the emergency release, ordinary owner observations, and what not to adjust. Ask the technician to demonstrate rather than merely point.
Each household decision-maker should know how to operate the door, how to stop using it when travel changes, and whom to contact if a problem appears. Keep remotes and access codes controlled just as you would house keys.
Look and listen during several normal cycles from a safe location. The door should travel evenly without severe shaking, scraping, popping, cable slap, or repeated hesitation.
Sections should meet consistently, rollers should stay in their track path, and the closed door should sit predictably at the floor. Weather seals may flex and a new system may sound different from the old one, but the installer should explain any condition that seems irregular rather than dismissing it as something that will automatically wear in.
| Demonstration | What you should learn | Unacceptable shortcut |
|---|---|---|
| Normal cycles | Expected sound, speed, stopping position and seal contact | Calling severe bind or shake normal break-in. |
| Protective functions | Manufacturer-prescribed tests and indicator behavior | Bypassing sensors or hiding reversal with excess force. |
| Emergency release | How and when an authorized adult uses it safely | Pulling it while the door is unstable or unsupported. |
| Controls | Which remotes, keypad codes and app users are active | Leaving unknown credentials or untested buttons. |
| Owner care | Safe observation, cleaning and maintenance boundaries | Inviting spring, cable or bottom-bracket adjustment. |
Close out the job with records, cleanup and a baseline
Before payment and sign-off, compare the finished work with the written proposal. Confirm the exact door, visible options, hardware and opener scope, removal and disposal, agreed corrections, and any approved change order. The area should be cleared of sharp fasteners, wire pieces, packaging, old hardware, and installation debris.
Check nearby walls, trim, driveway, vehicles, and stored items against your pre-work photographs if something appears changed. Practical closeout protects both homeowner and installer from a fuzzy recollection later.
Collect the product model and serial information when available, manuals, finish-care instructions, opener and accessory records, remote details, warranty documents, invoice, installer contact, and any separate manufacturer-registration steps. Ask who provides labor coverage, who provides product coverage, what exclusions apply, and how a service concern should be reported.
A spoken ‘you are covered’ is not a warranty process. Written records matter when a seal, section, finish, spring, control, or opener issue appears months later.
Finally, establish a baseline while the installation is fresh. Photograph the closed exterior, section alignment, interior tracks, opener connection, labels, and controls without entering unsafe positions. Note how the door sounds and how it meets the floor.
If it later becomes crooked, suddenly heavy, unusually noisy, slow, hesitant, or unreliable, stop operation and arrange an assessment instead of adjusting force or tension yourself. A documented normal starting point makes future service far more precise.
- Match the completed installation to the written product and scope.
- Confirm cleanup, removal, disposal and every approved change order.
- Receive manuals, product identifiers, invoice and written warranty details.
- Record controls, codes and remotes under authorized household ownership.
- Photograph a safe baseline and report meaningful changes promptly.
Prepare a focused Wichita installation request
When requesting garage-door installation in Wichita, start with facts the provider can use: the address or ZIP code, whether the garage is attached or detached, the number and approximate size of openings, new construction or replacement, the existing door and opener situation, finished opening status, ceiling obstructions, electrical readiness, window and insulation priorities, desired timing, and wide photographs taken from safe positions. For new construction, identify who owns final framing, backing, trim, electrical and floor completion.
For a replacement, explain why the current door is being changed. Severe impact, repeated repairs, poor fit, appearance, insulation, noise, a remodel, and opener compatibility lead to different planning questions. Say whether vehicles are trapped, whether the opening can close securely, and whether another household entrance is available.
Do not remove panels or hardware to improve the photos. A professional can request additional measurements or schedule a field verification when the existing information is not enough.
Heartland can help route a Wichita-area installation request based on the opening, project stage, door type, service location, and current availability. Ask for an itemized installed scope, verify the product before dismantling begins, and reserve time for the final demonstration. The best installation day ends without drama: the garage is clean, the door is balanced, the controls make sense, the safety checks are complete, and your paperwork is somewhere you can find it when you actually need it.
Frequently asked questions
Questions readers ask
How should I prepare for garage-door installation?
Move vehicles outside, clear the floor and ceiling track path, protect valuables, provide safe truck-to-garage access, identify any needed electrical access, and keep children and pets away. Do not remove the old door, tracks, springs, cables or brackets.
How long does garage-door installation take?
Timing depends on the opening, door size and construction, track and spring configuration, opener scope, site access, concealed damage, and whether other trades are required. Ask for the expected work window and a contingency plan for an incomplete opening.
Can my existing garage-door opener stay with a new door?
Possibly, when it is serviceable and compatible with the new door, rail, attachment, travel and safety requirements. The new door should first be mechanically balanced, then the opener and protective functions should be commissioned with it.
What should be tested after a garage door is installed?
The installer should verify smooth manual travel and balance, even lifting, cable and roller tracking, track and fastener security, opener travel and controls, manufacturer-prescribed protective functions, emergency release, stopping positions and seal contact.
What records should I receive after installation?
Keep the invoice, exact product and model information, manuals, opener and control details, approved change orders, finish-care instructions, installer contact, and written labor and product warranty information, including any registration steps.
The right solution depends on the specific lock, door, vehicle or garage door system. Check the Wichita-area service pages, then call or send the details for an evaluation.