Garage door installation
Garage Door Opener Installation: What Wichita Homeowners Should Know
A garage door opener is easy to describe as a motor and surprisingly easy to specify badly. The right installation begins with the door itself, then works outward through the rail, reinforcement, supports, power, controls, protective devices, travel settings, and household handoff. Wichita homeowners who understand that sequence can compare proposals more clearly and avoid paying for automation that merely hides a mechanical problem.
Before installing a garage door opener, verify that the door is structurally sound, correctly balanced, compatible with the proposed operator, and able to travel smoothly by hand. Then match the opener type and capacity to the door, confirm mounting and electrical requirements, include compliant protective devices and controls, and require complete commissioning. A finished installation should demonstrate normal travel, reversal and photo-eye behavior, emergency release, remote and keypad functions, secure account ownership, and a written record of the equipment and warranty.
A garage door opener is easy to describe as a motor and surprisingly easy to specify badly. The right installation begins with the door itself, then works outward through the rail, reinforcement, supports, power, controls, protective devices, travel settings, and household handoff. Wichita homeowners who understand that sequence can compare proposals more clearly and avoid paying for automation that merely hides a mechanical problem. Continue with the complete library of garage door installation guides when you want to compare related decisions.
Key takeaways
- An opener should move a properly balanced door; it should not compensate for broken springs, binding tracks, or structural damage.
- Drive style, mounting layout, door weight, height, cycle demand, and available clearance matter more than headline horsepower alone.
- The proposal should separate opener equipment, door corrections, electrical work, controls, connectivity, removal, testing, and exclusions.
- Protective devices and travel settings must be commissioned after the mechanical installation, never bypassed to stop nuisance reversals.
- The final walkthrough should transfer remotes, codes, app ownership, manuals, model information, and emergency-release knowledge to the homeowner.
Start with the garage door, not the opener box
The first installation question is not which motor has the most features. It is whether the existing garage door is safe, stable, and reasonably balanced through its complete travel.
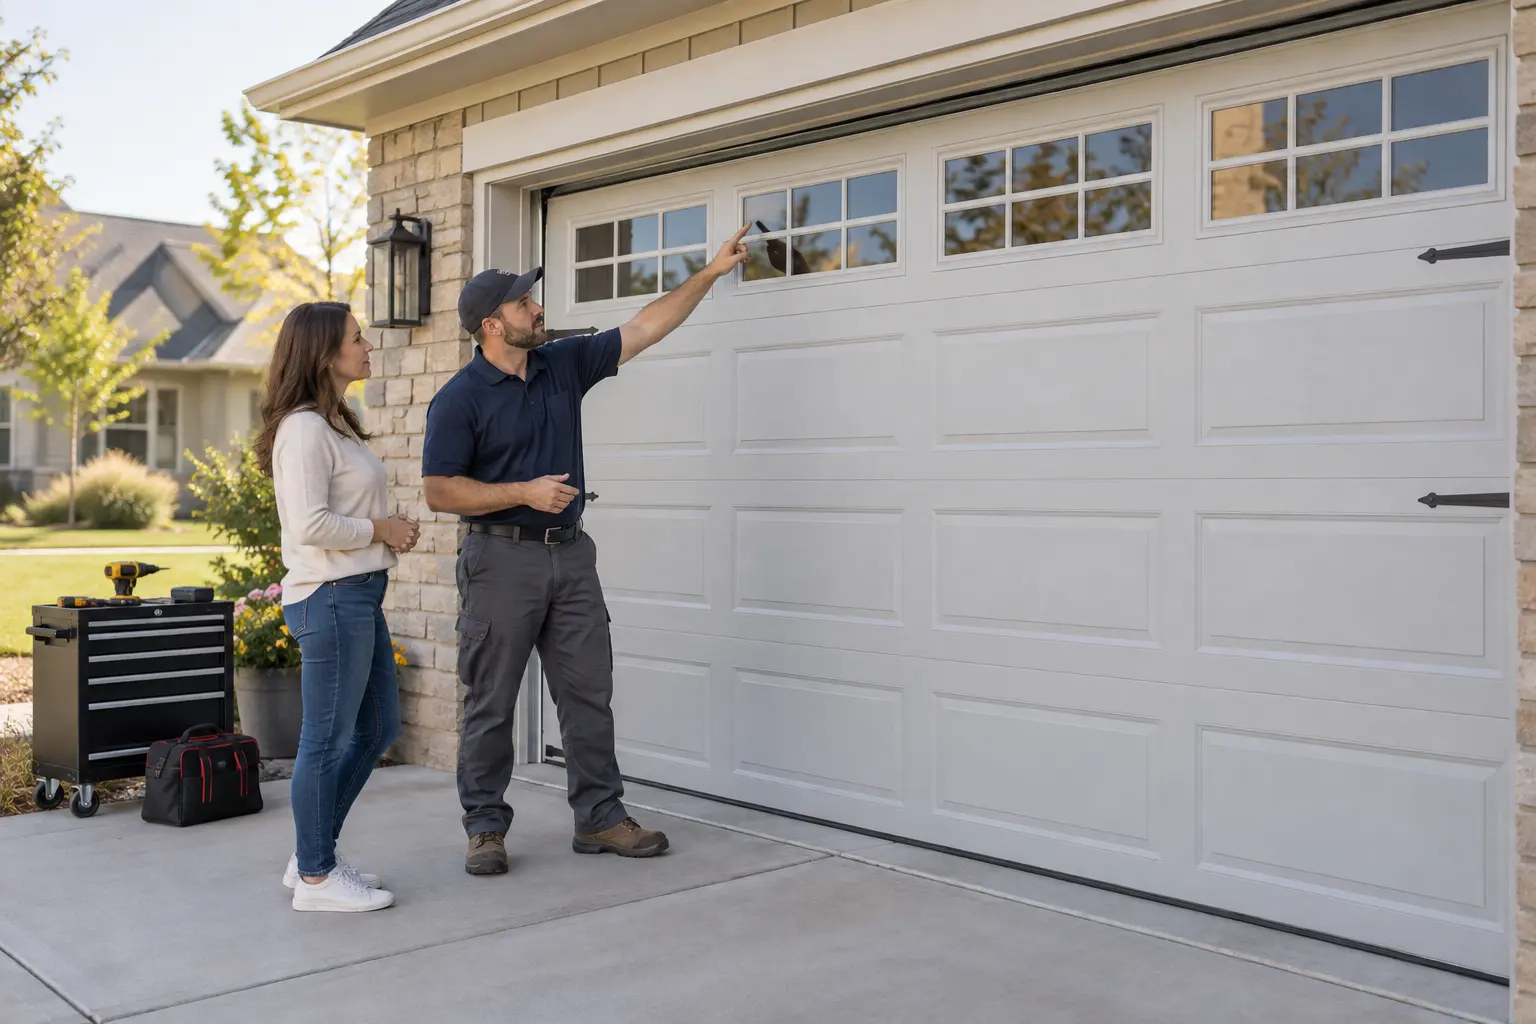
With the opener disconnected by a trained technician, the door should move in a controlled way without severe binding, crooked travel, loose cables, rollers leaving the tracks, or a tendency to fall or shoot upward. A motor can make a problem less obvious for a while, but it cannot turn damaged structure or incorrect counterbalance into a sound door system. If this condition matches your situation, review the service scope for garage door installation services.
This distinction matters because an opener is a control and movement device, not the primary lifting system. Springs offset most of the door's effective weight, while cables, drums or pulleys, rollers, hinges, tracks, and structural attachments guide and transfer forces.
When one of those parts is failing, the opener may strain, flex the rail, damage the trolley, pull on the top section, or stop unpredictably. Installing a stronger unit without correcting the cause simply gives the problem a more determined motor.
Ask the technician to identify any door work required before the opener installation can be commissioned. Normal adjustments may fit within the proposal, while spring replacement, track repair, section reinforcement, structural backing, or damaged hardware may be separate work.
The condition should be shown and the added scope approved before it is performed. A useful estimate makes this boundary visible instead of waiting until the old operator is hanging from its cord to mention it.
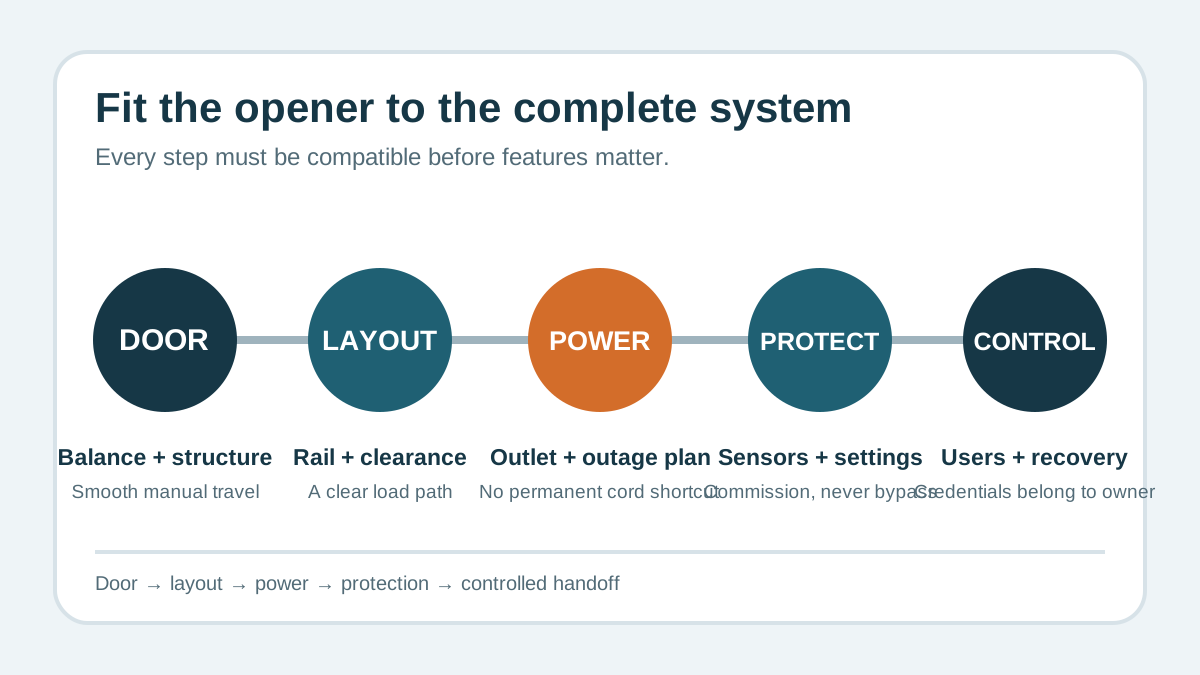
Smooth manual travel
The complete door should move predictably without severe bind, tilt, or uncontrolled weight.
Correct counterbalance
Springs and cables carry the door load; the opener should not be asked to replace them.
Sound attachments
The header, ceiling supports, top section, tracks, and brackets need reliable anchorage.
Match the opener to the actual door and daily use
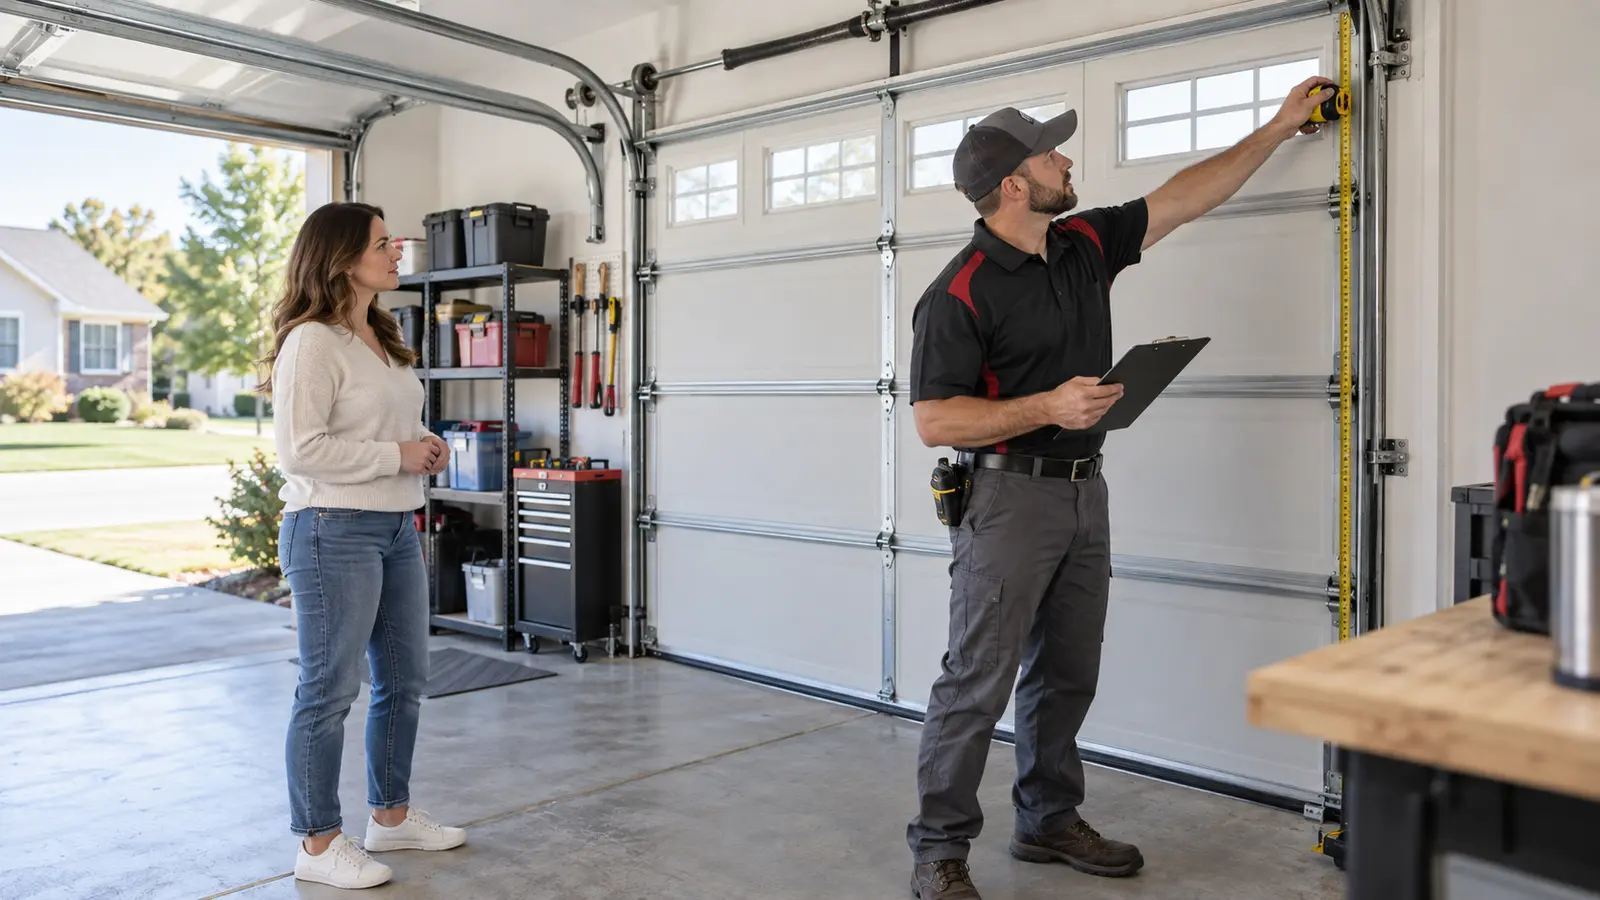
Opener selection should account for the door's width, height, construction, insulation, glazing, reinforcement, track arrangement, measured balance, and expected number of cycles. A wide insulated door with windows presents a different load and inertia profile from a light single-car door.
A tall door may require a longer rail or manufacturer-approved extension. Low-headroom tracks, high-lift arrangements, cathedral ceilings, storage racks, beams, ducts, and lights can change which mounting layout is practical. If this condition matches your situation, review the service scope for garage door opener installation.
Horsepower labels are only one part of the comparison. The complete operator system includes the motor, drive, rail, trolley or wall-mounted mechanism, door arm or shaft connection, controls, protective devices, software features, backup options, and mounting hardware.
A larger number on the carton does not excuse a poor rail, incompatible connection, weak ceiling support, or unbalanced door. Ask for the exact model and confirm that its documented application fits the installed door rather than relying on a generic good-better-best description.
Daily habits matter too. An attached garage beneath a bedroom may make quieter operation valuable, while a detached utility garage may put more emphasis on simplicity and dependable local controls. Frequent household traffic can justify equipment designed for the expected use and a thoughtful plan for multiple users.
Power outages, weak Wi-Fi, detached-building connectivity, keypad exposure, and who needs temporary access all influence the useful feature set. Buy for the opening and routine you have, not the longest feature list on the shelf.
| Input | What to verify | Why it changes the choice |
|---|---|---|
| Door | Size, weight, construction, height, balance, and reinforcement | The operator and connection must suit the actual moving assembly. |
| Clearance | Ceiling, header, side space, track type, storage, and obstructions | The available path determines mounting and rail options. |
| Use | Attached or detached garage, noise sensitivity, users, and cycle demand | Convenience and durability priorities differ by household. |
| Power | Outlet, circuit condition, lighting, outage plan, and battery option | Automatic access needs a defined electrical and failure plan. |
| Controls | Wall station, remotes, keypad, vehicle integration, app, and guest access | The promised experience extends beyond the motor. |
Understand the practical differences among drive and mounting styles
Belt-drive openers are often chosen when quieter operation is important, particularly in an attached garage near occupied rooms. Chain-drive models remain a familiar, durable option and may be more audible through the building structure.
Screw-drive and other configurations have their own maintenance and climate considerations, depending on the manufacturer and product. The best comparison uses the current model's documentation and installed conditions, not a rule that one drive type is automatically perfect for every Wichita garage. If this condition matches your situation, review the service scope for residential garage door installation.
Traditional trolley openers mount near the center of the ceiling and move the door through a rail and arm. Wall-mounted or jackshaft-style operators work from the torsion shaft on compatible door systems and can preserve overhead space, but they need suitable side clearance, shaft geometry, counterbalance condition, power, and door configuration. They are not a universal solution for low ceilings, and moving the motor to the wall does not eliminate the need for secure structural support or protective-device installation.
Direct-drive, integrated LED, camera, battery-backup, and connected models can be useful, but features should follow mechanical fit. Ask what happens if the internet is unavailable, the phone changes, the account owner moves, the battery ages, or the connected service is discontinued.
The wall control and emergency release should still make sense. A dependable opener is one that the household can operate and recover, including on the day when nobody remembers the app password and the grocery bags are getting heavier by the minute.
Make the estimate describe a complete installed system
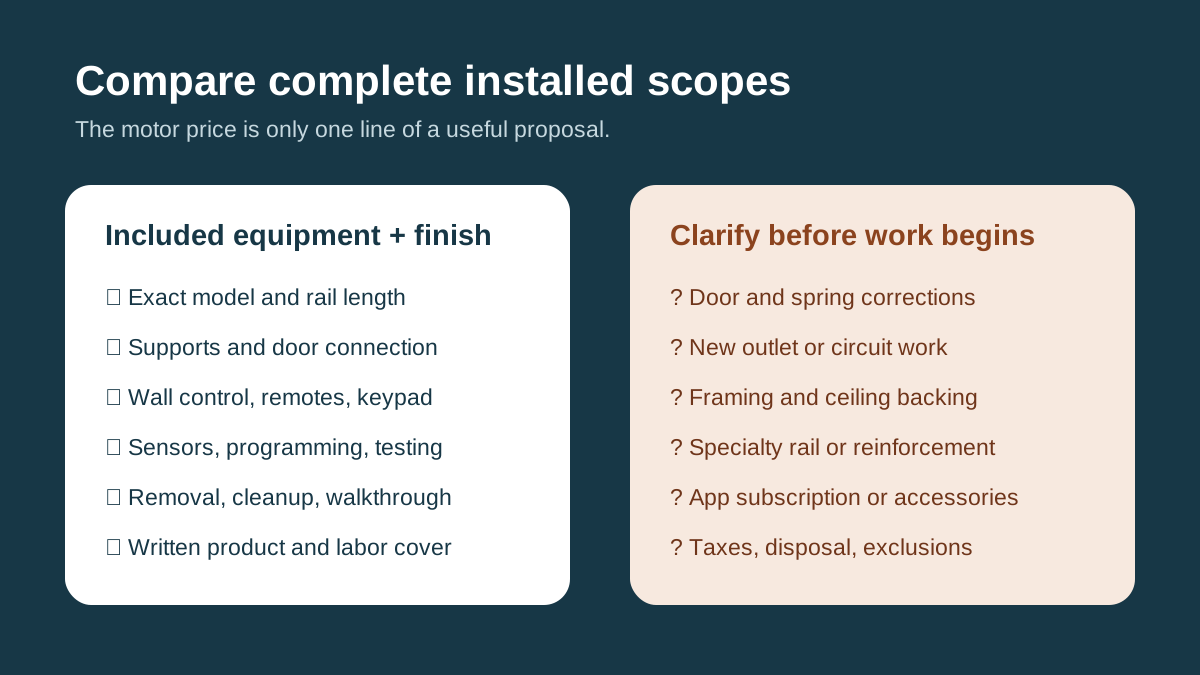
A useful written proposal identifies the exact opener manufacturer and model, drive or mounting type, rail length, included controls, keypad, lighting, battery backup, connectivity, mounting hardware, reinforcement, removal, disposal, programming, testing, labor coverage, product coverage, and tax. It should say whether the existing opener, rail, brackets, wiring, sensors, remotes, and door attachment will be removed or reused. If a feature depends on a separate subscription, accessory, Wi-Fi standard, or compatible vehicle, that limitation belongs in the scope.
The estimate should also separate work outside the opener package. A new outlet, circuit repair, drywall access, framing, ceiling reinforcement, door spring work, track correction, top-section strut, specialty bracket, or unusually long rail may require additional materials or another trade.
Some of these needs can be identified from photographs and measurements, while others become clear during field verification. Either way, the provider should explain the observable condition, remedy, added price, and schedule effect before proceeding.
Compare proposals at the same level of completeness. One price may include a keypad, two remotes, removal, reinforcement, programming, and final safety testing while another covers only the motor and basic labor.
Ask each provider to confirm what will be functioning at closeout and what remains the homeowner's responsibility. The cheapest-looking number can become the most confusing installation when important parts are written as assumptions instead of deliverables.
- Exact model, rail, drive or mounting arrangement, and documented door compatibility
- Included wall control, remotes, keypad, battery, lighting, connectivity, and accessories
- Door reinforcement, header and ceiling supports, wiring, sensors, and attachment hardware
- Removal, disposal, programming, commissioning, cleanup, and homeowner walkthrough
- Door repairs, electrical work, subscriptions, structural work, taxes, warranties, and exclusions
Treat power, emergency release, and protective devices as core equipment
A garage door opener needs a suitable power source installed in the location and manner required for the product. Extension cords are not a permanent installation plan. The technician should confirm the outlet, cord reach, grounded connection, routing, and any electrical condition that prevents safe commissioning.
If an electrician is required, that responsibility should be assigned before installation day. Battery backup can help with certain outages, but its capacity, maintenance, replacement interval, and supported functions still need to be understood.
The CPSC automatic garage-door opener safety rule (opens in a new tab) reflects why entrapment protection cannot be treated as an optional accessory or nuisance. Photo eyes must be positioned, aligned, secured, wired, and tested according to the manufacturer's instructions, along with the operator's other required protective behavior. The answer to an unexpected reversal is diagnosis—not raising sensors out of usefulness, holding a button to defeat normal operation, increasing force blindly, or bypassing a device so the door finally closes.
The emergency release also needs a deliberate handoff. An authorized adult should know where it is, how the manufacturer says to use it, and why it should not be pulled casually when a door is open, crooked, damaged, or unusually heavy. Releasing an unstable door can allow unexpected movement.
For a garage without another entry, discuss an approved outside-release or access plan suited to the door and building. Emergency access should be planned while everything works, not improvised during a power outage.
Permanent connection
Use the product's required outlet and routing, with electrical corrections assigned clearly.
Tested devices
Install and commission photo eyes and required reversal behavior without bypasses.
Emergency access
Teach safe release use and plan entry for garages with no alternate door.
Installation quality is visible in the load path
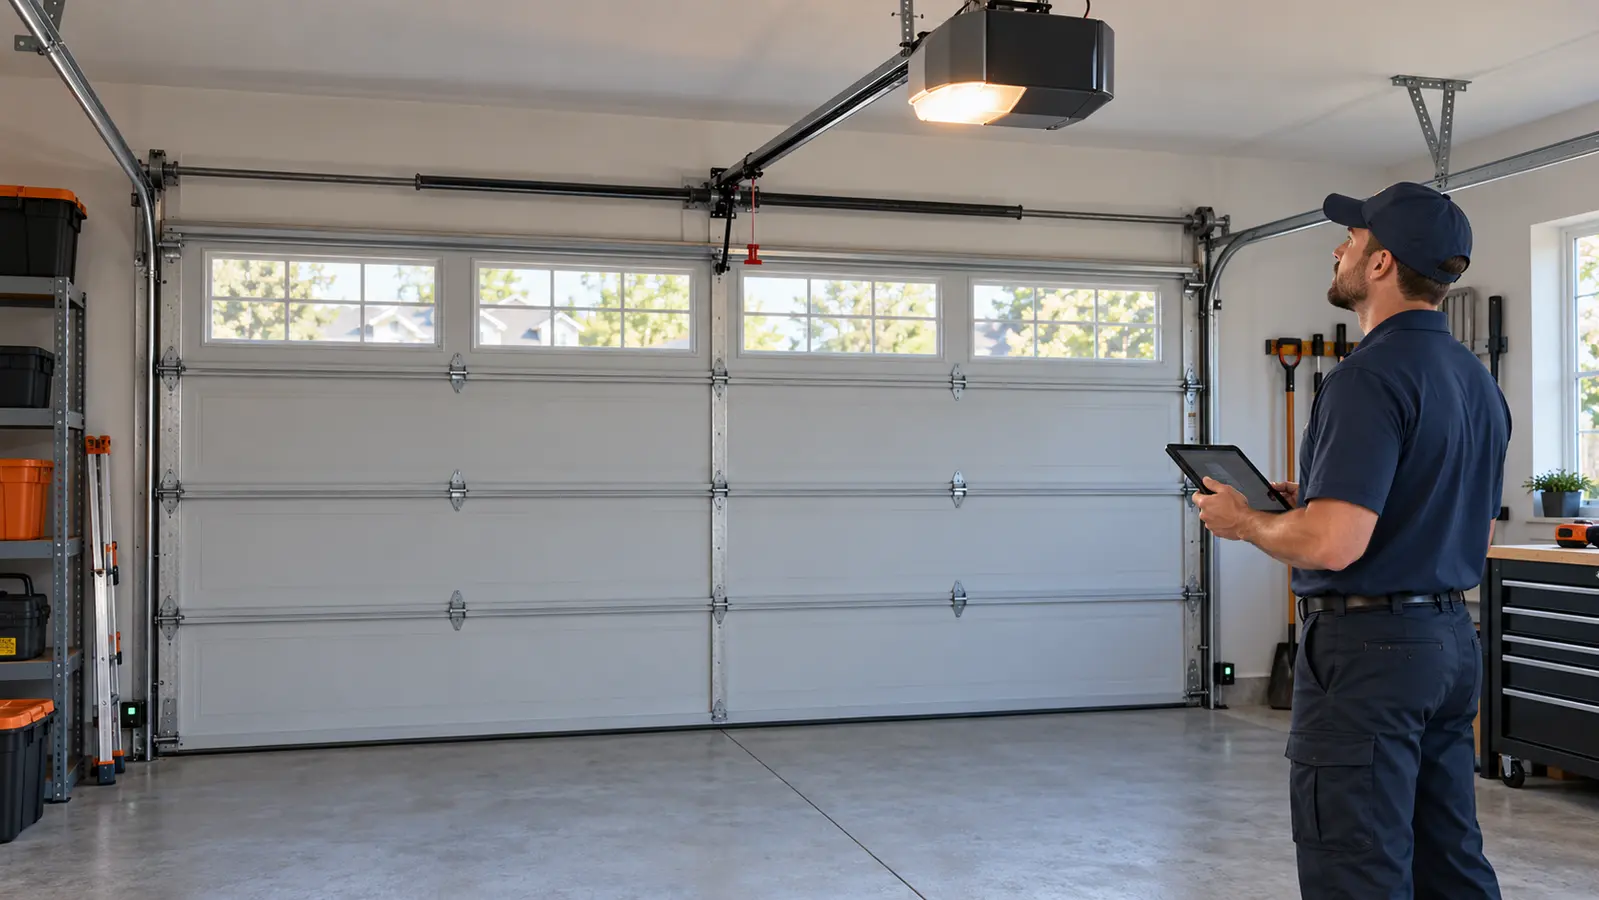
The opener rail or wall unit should be installed straight, secure, and in the location required by the product and door configuration. Header and ceiling attachments need sound structural backing rather than thin finish material or convenient drywall anchors.
Supports should resist movement without turning the operator into a hanging pendulum during every cycle. Wiring should be protected and neatly routed away from rollers, hinges, tracks, springs, cables, and stored items.
At the door, the opener arm or shaft connection must transfer force into an approved reinforced location. A top section can bow or crack when the attachment is placed into unsupported sheet metal or when required reinforcement is missing.
The technician should follow the door and opener manufacturers' compatible connection details, including any strut or operator bracket. This is especially important on wider, insulated, glazed, or otherwise heavier sections where repeated cycles can turn small flex into material damage.
Alignment is not merely cosmetic. A skewed rail, poorly positioned header bracket, loose hanging support, incorrect door-arm geometry, or rubbing trolley can add noise and stress.
Wall-mounted systems have different alignment and cable-tension considerations, but the same principle applies: the operator should control a sound door without distorting it. Before automatic testing begins, the technician should recheck fasteners, clearances, the manual door condition, and the complete path of every moving part.
| Location | Installation expectation | Warning sign |
|---|---|---|
| Header | Bracket secured to suitable structure at the specified position | Attachment into weak trim or visibly moving material |
| Ceiling or wall | Supports suited to the operator and building structure | Motor or rail sways noticeably during operation |
| Door connection | Approved bracket and required top-section reinforcement | Section flexes, creases, or fasteners pull at the skin |
| Wiring | Secured routing clear of moving hardware and storage | Loose wire crosses a track, hinge, spring, or access path |
| Rail or shaft | Correct alignment and free operating path | Rubbing, bowing, twisting, or repeated impact |
Commission travel and force instead of accepting factory guesses
After the mechanical installation is secure, the technician configures opening and closing limits so the door reaches the correct positions without slamming into its stops or pressing excessively into the floor. Force or sensitivity settings must follow the manufacturer's process and the actual door condition.
Factory defaults are a starting point, not proof of finished commissioning. If the unit needs unusually high force to complete travel, the cause may be door bind, poor balance, alignment, weather-seal pressure, or an installation error.
Testing should use multiple complete cycles while the technician watches the door, rail, supports, connection, cables, rollers, and stopping positions. The door should move evenly and predictably without severe vibration, scraping, jerking, repeated hesitation, or unusual section flex.
Protective-device tests should follow the current product instructions, and the results should be explained to the homeowner. One successful button press from across the garage is not a complete acceptance test.
Weather and floor conditions deserve context. A bottom seal may need appropriate contact, but excessive closing pressure should not be used to flatten a badly uneven slab or solve a drainage problem. Sunlight, sensor alignment, loose wiring, track resistance, and objects near the opening can affect operation.
The technician should diagnose intermittent behavior before leaving. A door that works only when everyone stands perfectly still and the afternoon sun is behind a cloud is not ready for ordinary household use.
Set up remotes, keypads, apps, and accounts with ownership in mind
Controls are credentials to the building, not free promotional gadgets. At closeout, identify every remote, keypad code, wall station, vehicle button, phone user, and connected account that can operate the door.
Remove or reset old remotes and users when replacing an opener, especially after a move or uncertain handoff. Use individual or temporary access methods when the product supports them rather than sharing one permanent household code with cleaners, guests, and service providers.
Connected setup should place account ownership with the homeowner or authorized property manager using their own email, phone, and recovery method. The installer may guide pairing, but should not remain the unknown long-term administrator. Confirm what data, notifications, camera features, storage, subscriptions, and internet services are involved.
Test what happens when Wi-Fi is unavailable. Local wall controls, remotes, and safe manual recovery should remain understandable even if the cloud service takes the afternoon off.
The DASMA technical data sheets (opens in a new tab) can help owners and technicians locate industry reference material, but the installed product's current manual remains the controlling source for setup, testing, and maintenance details. Save the model and serial number, manual, programming instructions, accessory list, and support information together.
Photograph labels only from a safe position. Future service is far easier when the next technician knows the exact operator, rail, controls, door configuration, and changes made during installation.
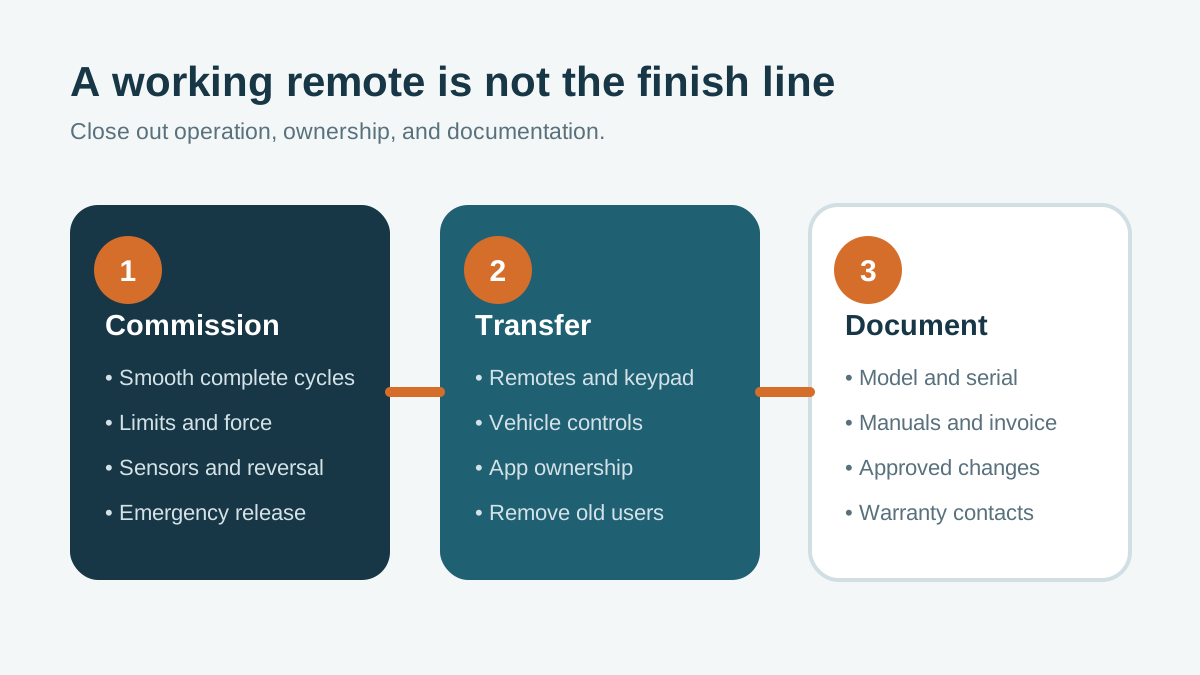
- Inventory every remote, keypad code, vehicle control, app user, and connected account.
- Erase uncertain prior credentials and assign new access deliberately.
- Keep primary account ownership and recovery methods with the authorized property owner or manager.
- Understand which functions depend on Wi-Fi, cloud service, battery power, or a paid subscription.
- Save the exact model, serial number, manuals, accessory records, and programming instructions.
Use the final walkthrough as a real acceptance test
A useful walkthrough lets the homeowner operate the system rather than watch a rushed demonstration. Open and close the door from the wall control and each included remote, then test the keypad, vehicle integration, app, lighting, camera, lock, or battery features that were promised.
Confirm the door reaches consistent positions and that the operator sounds and moves as demonstrated during commissioning. Ask about any behavior that seems different from the written scope or product documentation.
The technician should demonstrate the prescribed protective-device tests and explain indicator lights, ordinary troubleshooting boundaries, and conditions that mean stop using the door. Those conditions include a suddenly heavy door, crooked travel, loose cable, roller leaving the track, severe section flex, damaged connection, repeated unexplained reversal, or a support that moves. Homeowners can keep sensor areas clear and observe hardware; they should not adjust springs, cables, bottom brackets, force settings, or structural attachments without appropriate training.
Closeout also includes cleanup and records. Confirm removal of the old opener and included debris, check that loose fasteners and wire pieces are gone, and compare the completed equipment with the proposal.
Receive the invoice, approved change orders, product and labor warranty information, installer contact, manuals, and any manufacturer-registration steps. A tidy garage and a working remote are welcome, but documentation is what turns an installation day into a serviceable system years later.
| Demonstration | What to confirm | Do not accept |
|---|---|---|
| Door travel | Even movement and repeatable open and closed positions | Severe bind, shake, flex, or unexplained reversal |
| Protection | Manufacturer-prescribed photo-eye and reversal tests | Bypassed sensors or excessive force used as a shortcut |
| Controls | Every included remote, keypad, vehicle, and app function | Unknown active credentials or untested accessories |
| Recovery | Emergency release and outage plan explained safely | Casual release advice for an unstable or open door |
| Records | Model, manuals, invoice, changes, warranty, and support | Only a verbal promise with no equipment record |
Prepare a focused Wichita opener-installation request
When requesting garage door opener installation in Wichita, provide the service address or ZIP code, attached or detached garage, number and approximate size of doors, door material and insulation if known, track and spring arrangement, ceiling height, current opener model, symptom or reason for replacement, available outlet, alternate garage entry, desired controls, connectivity priorities, and safe wide photographs. Include a photo of reachable labels, but do not climb, remove covers, or stand beneath an uncertain door for a better angle.
Explain whether the door currently opens smoothly by hand only if it has already been safely disconnected and evaluated; do not pull the release just to answer that question. Report loud bangs, loose cables, crooked travel, binding, damaged sections, or a door that feels unusually heavy.
Those symptoms may change the appointment from straightforward opener installation to door stabilization and diagnosis. Accurate information helps the provider bring the correct rail, supports, accessories, and testing plan without promising a scope that the opening cannot support.
Heartland can help route a Wichita-area opener-installation request based on the door, building, access needs, location, and current availability. Ask for an itemized installed scope and reserve time for commissioning and the homeowner walkthrough.
The goal is not simply to make the door move from a phone. It is to leave a mechanically sound, correctly controlled system whose safety functions, credentials, records, and recovery steps belong clearly to the household.
Frequently asked questions
Questions readers ask
Can a new garage door opener be installed on an old door?
Sometimes, if the existing door is structurally sound, properly balanced, compatible with the operator, and able to travel smoothly. Door, spring, track, cable, section, or reinforcement problems should be corrected before the new opener is commissioned.
Which is better, a belt-drive or chain-drive opener?
The better choice depends on the door, garage location, noise sensitivity, expected use, product design, maintenance needs, and budget. Belt drives are often selected for quieter attached garages, while current chain-drive models remain a familiar option when their characteristics fit the household.
Do I need a new electrical outlet for a garage door opener?
The opener needs a suitable permanent power connection in the required location. If the existing outlet, circuit, grounding, or cord routing does not meet the product and electrical requirements, a qualified electrical professional may need to correct it before commissioning.
What should be tested after garage door opener installation?
Test complete opening and closing travel, stopping positions, the door and attachment for abnormal movement, photo eyes and other prescribed protective behavior, emergency release, wall control, remotes, keypad, vehicle controls, app features, lighting, and battery functions included in the scope.
Can the installer keep ownership of the garage door opener app?
Primary account ownership and recovery should normally belong to the authorized homeowner or property manager. The installer may help with setup, but active users, credentials, subscriptions, and recovery methods should be reviewed and transferred clearly at closeout.
The right solution depends on the specific lock, door, vehicle or garage door system. Check the Wichita-area service pages, then call or send the details for an evaluation.