Garage door repair
Garage Door Remote Not Working? Batteries, Sensors, and Other Common Causes
When a garage door remote stops working, the remote itself is only one possible cause. A weak battery, wall-control lock mode, lost programming, damaged buttons, radio interference, an antenna or receiver problem, or a door that is refusing a close command can produce similar symptoms. This guide helps Wichita homeowners separate those paths with safe comparisons before deciding whether the remote, opener, or complete door system needs attention.
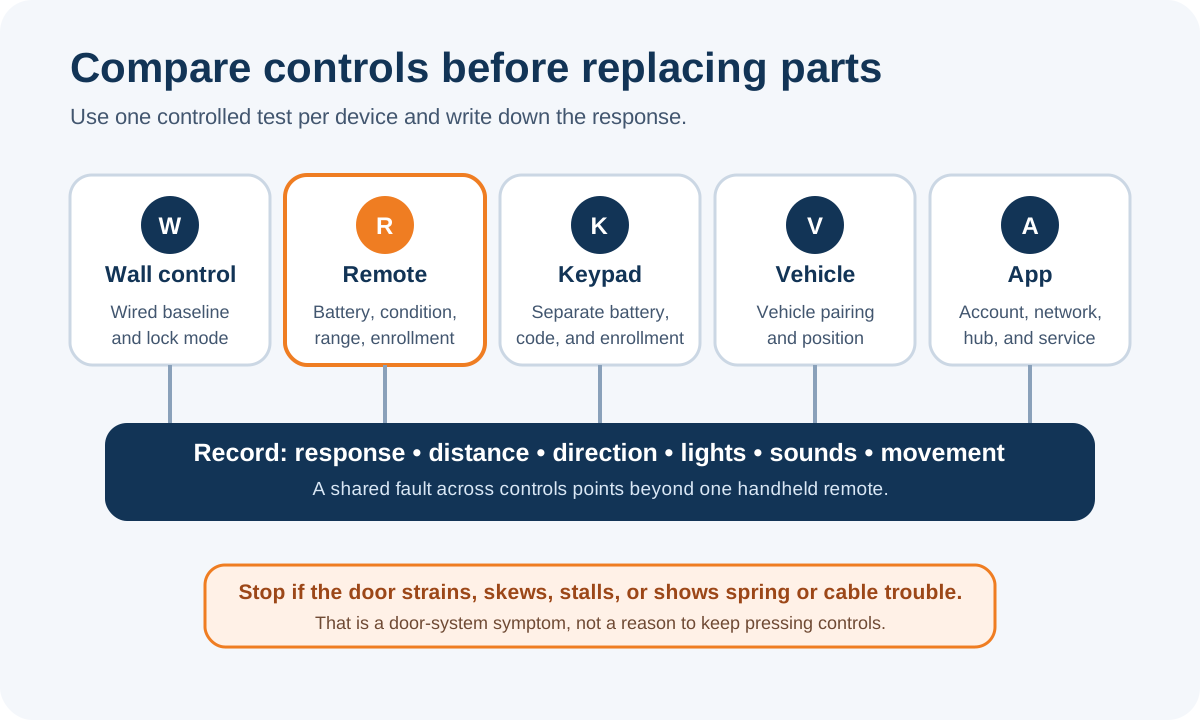
Begin with one controlled comparison: test the wall control from a safe position, then compare every authorized remote, keypad, vehicle control, and app without repeatedly cycling the door. Replace the suspect remote's battery with the exact type and orientation shown for that model, check for visible damage and wall-station lock mode, and note whether range changed gradually or failed suddenly. If the remote opens the door but will not close it, inspect the clear opening and photo-eye indicators instead of assuming the transmitter is bad. Stop if the door is crooked, heavy, noisy, off track, or shows spring or cable trouble.
When a garage door remote stops working, the remote itself is only one possible cause. A weak battery, wall-control lock mode, lost programming, damaged buttons, radio interference, an antenna or receiver problem, or a door that is refusing a close command can produce similar symptoms. This guide helps Wichita homeowners separate those paths with safe comparisons before deciding whether the remote, opener, or complete door system needs attention. Continue with the complete library of garage door repair guides when you want to compare related decisions.
Key takeaways
- A working wall control with one failed remote usually points first to the remote, its battery, compatibility, or programming.
- A remote that opens but will not close may be revealing a protective-device or door-path problem rather than a radio problem.
- Reduced range can come from a weak battery, a damaged remote, antenna condition, or a new source of radio interference.
- Do not erase every enrolled control, bypass photo eyes, or adjust force and travel settings as a shortcut.
- Record the exact control, distance, direction, indicator behavior, and recent changes before requesting service.
Start with a control-by-control comparison
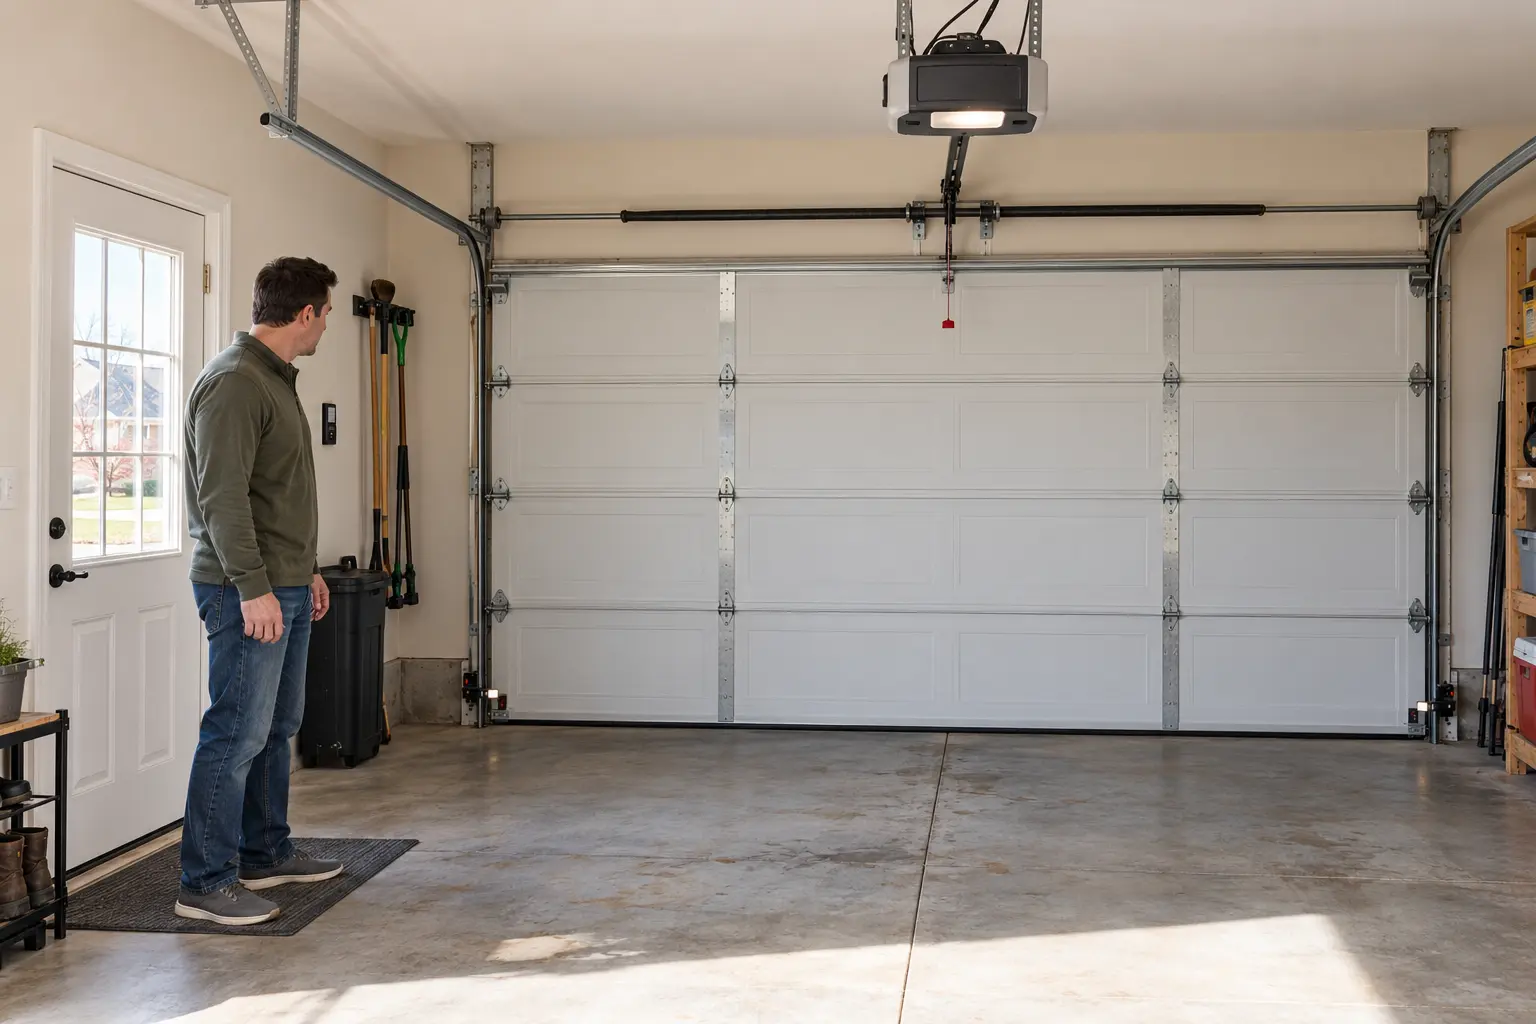
The fastest useful test is not pressing the same remote ten more times. Stand where you can see the entire closed or stable door, keep people and objects clear, and press the wired wall control once.
Then note whether the door moves normally, whether the opener light responds, and whether the same direction of travel works from another authorized remote, keypad, vehicle button, or connected app. These comparisons separate a single-transmitter problem from a receiver, opener, protective-device, or door problem. If this condition matches your situation, review the service scope for garage door repair.
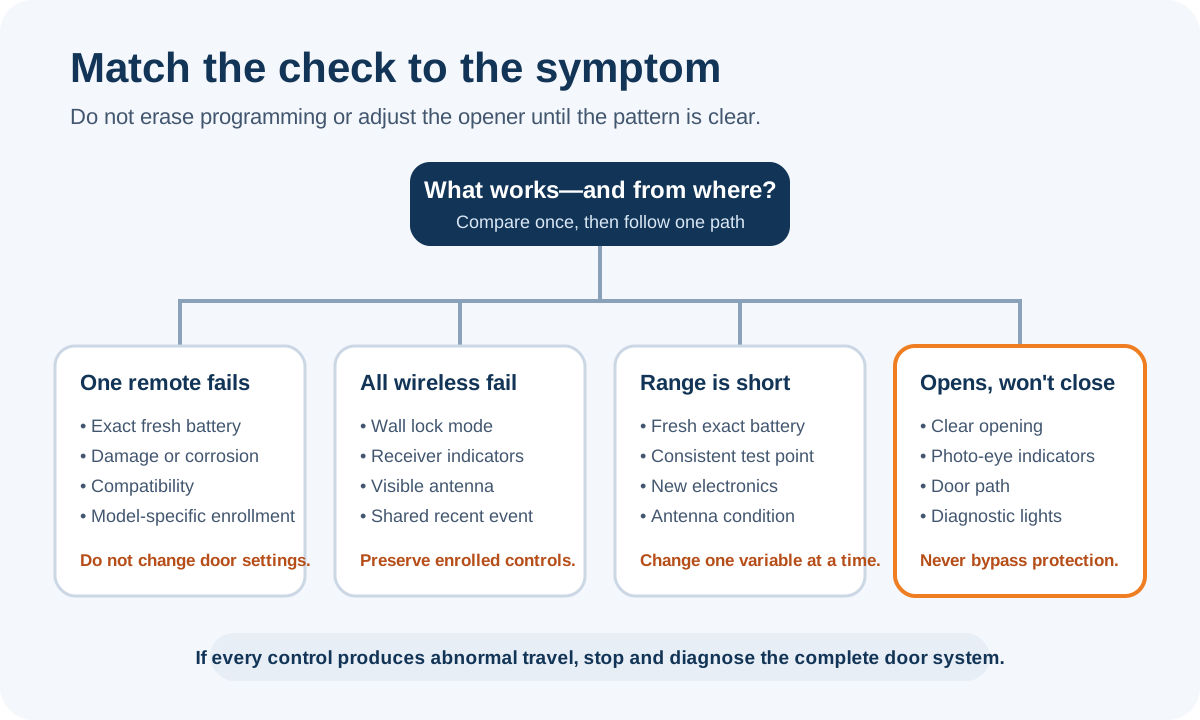
Write down the exact pattern instead of reducing it to “the remote is dead.” Useful patterns include one remote failing while a second remote works, every wireless control failing while the wall station works, the remote working only within a few feet, or the remote opening the door but not closing it. Also record whether the remote indicator illuminates, whether the opener clicks or flashes, and whether the failure began after a power outage, battery change, lighting change, vehicle service, or programming attempt.
Avoid repeated cycles when the door moves abnormally. A transmitter can be functioning perfectly while the opener refuses to move a crooked, binding, obstructed, or unbalanced door.
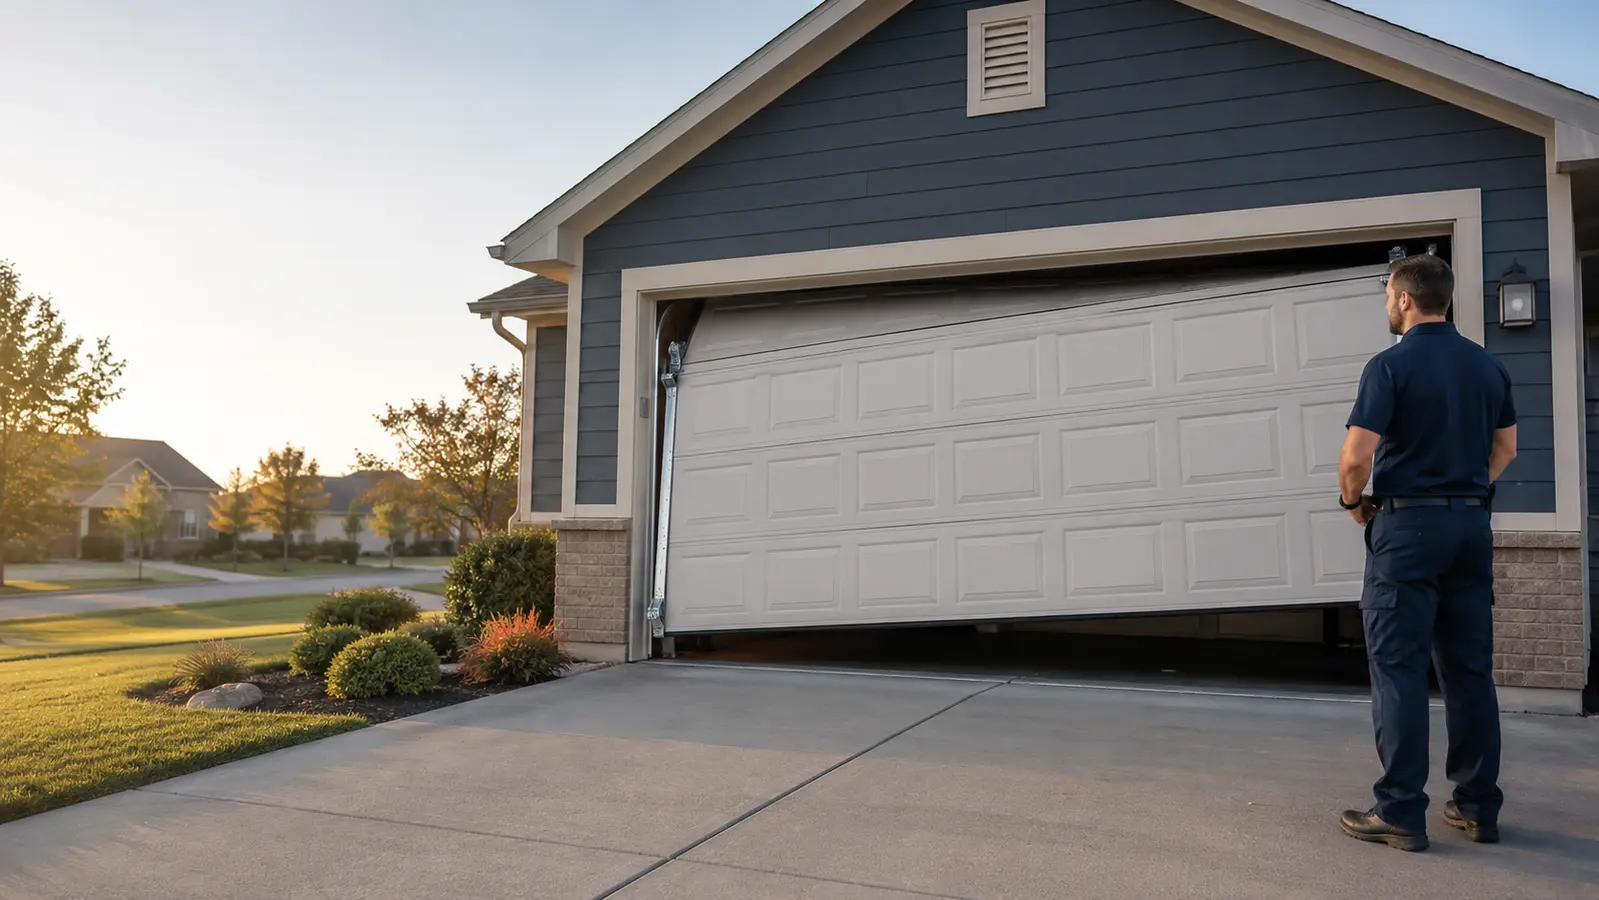
If the door jerks, hangs, moves unevenly, makes a new grinding or banging sound, or has a loose-looking cable or damaged spring, stop using every control. That becomes a door-system safety issue, not a remote-control experiment.
Compare another control
A second working transmitter points toward the first remote's battery, condition, compatibility, or enrollment.
Check shared conditions
Wall-station lock mode, receiver power, antenna condition, interference, or a programming event may affect every wireless control.
Stop blaming the remote
If every control produces the same strain, reversal, or crooked travel, the door or opener needs diagnosis.
Separate a remote problem from a closing-safety response
A remote that opens the garage door but will not close it is often still transmitting. Many residential openers respond differently to a close command when the photo-eye system is blocked, misaligned, unpowered, or damaged.
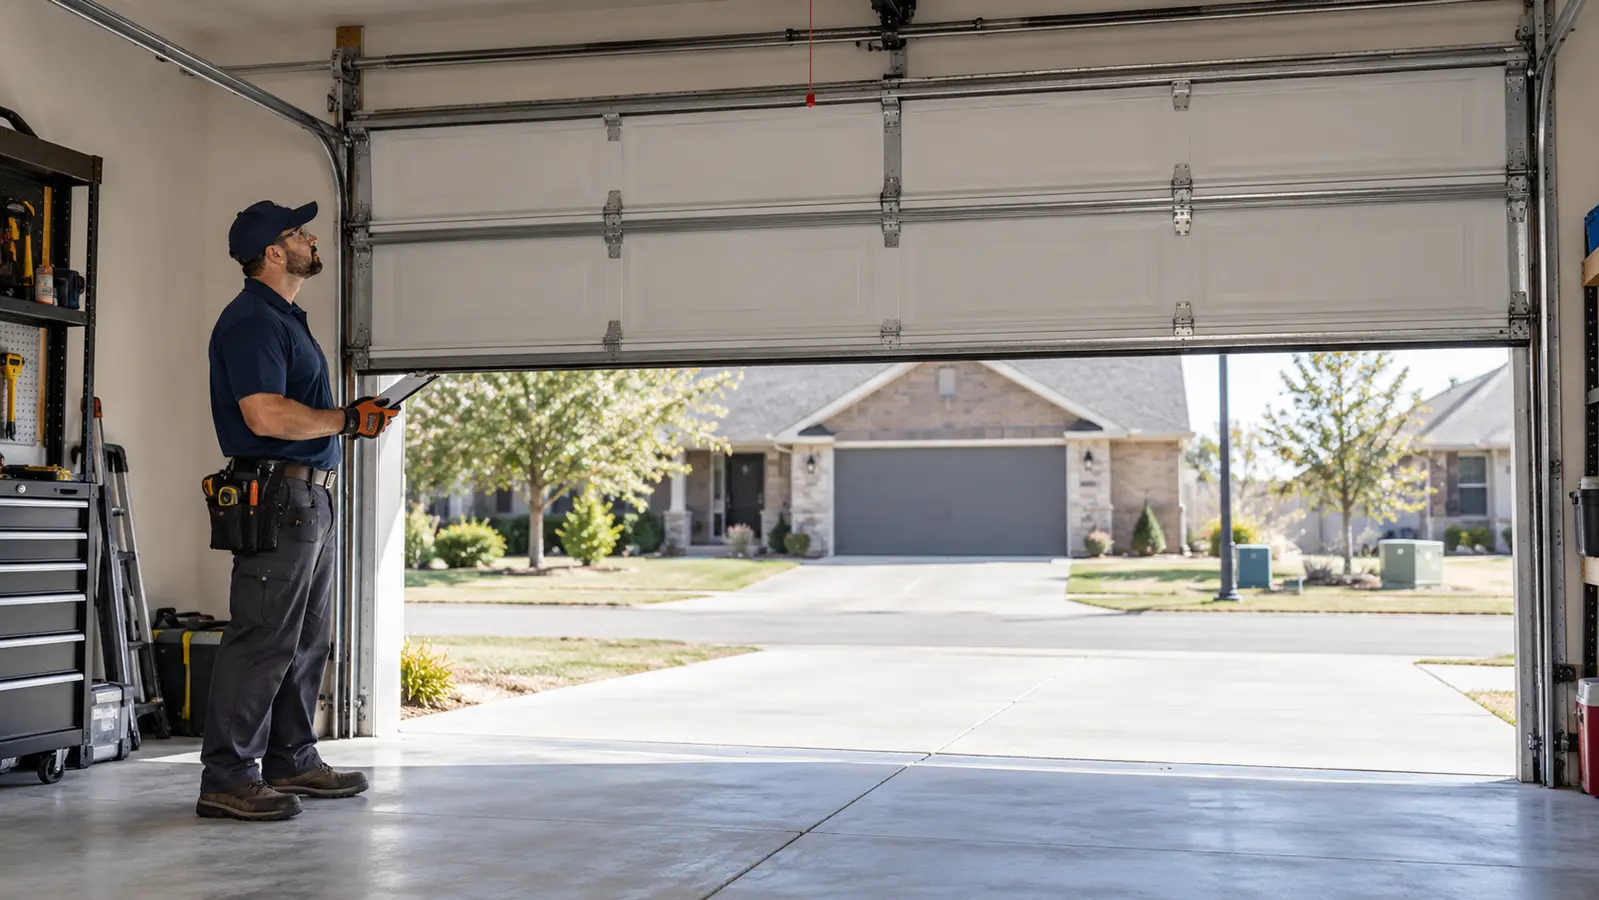
From the floor and outside the travel path, remove ordinary objects from the opening, look for dirt or spider webs on the exposed lenses, and compare both sensor indicators with the owner's manual for that exact model. Do not loosen brackets, splice wires, or relocate a sensor simply to make the door close. If this condition matches your situation, review the service scope for garage door opener installation.
Notice what the opener does after the remote button is pressed. Flashing opener lights, diagnostic tones, or sensor indicators may preserve a model-specific clue.
A wall control may also allow a special constant-pressure closing behavior when a protective system has a fault; that behavior is not proof that normal remote closing is safe. Do not tape sensors together, aim them across a shelf, hold a button with an object, or increase closing force to overpower a reversal.
The complete door path matters too. A trash bin, cord, folded bottom seal, displaced roller, bent track, or debris at one side can change closing behavior even when the radio command is received.
Observe without reaching into the tracks or standing beneath the door. If the door is visibly crooked, partly supported, off track, or affected by a questionable spring or cable, keep it clear and arrange service before another test.
Replace the battery carefully and match the exact type
If one handheld remote fails while another control works, begin with the battery specified for that remote. Read the molded model number or the label inside the case and follow the manufacturer instructions for opening it.
Chamberlain's remote-control battery guidance (opens in a new tab), for example, shows a model-specific case-opening method and battery orientation. Other brands and remote designs differ, so do not assume every visor remote uses the same coin cell or that the positive side always faces the same direction. If this condition matches your situation, review the service scope for garage door spring repair.
Check the old battery for leakage, swelling, corrosion, or heat damage. Avoid touching residue with bare hands, keep coin cells away from children and pets, and dispose of the battery through an appropriate local collection path.
Install a fresh battery of the exact chemistry and size, observing polarity and any insulating tab. A battery that fits loosely, requires bending contacts, or makes the remote warm is not an acceptable substitute.
Before closing the case, inspect the battery contacts and housing without scraping, sanding, or spraying them. A cracked circuit board, liquid residue, missing button pad, corroded contact, broken case, or remote that was crushed by a vehicle can cause intermittent operation even with a new battery.
Reassemble the case completely, then test from a normal safe location. If range remains poor or the indicator behaves inconsistently, record that result rather than swapping batteries repeatedly.
- Identify the remote model and specified battery before opening the case.
- Match battery size, chemistry, polarity, and contact position exactly.
- Keep coin cells secure and away from children and pets.
- Replace a damaged remote instead of bending contacts or taping a cracked case together.
- Test once from a safe normal location and record whether range or response changed.
Check lock mode before reprogramming anything
Many wall controls include a lock, vacation, or security mode that disables handheld remotes while leaving the wired wall button available. The name, indicator, and button sequence vary by opener family.
Look for a lock icon, flashing wall-station light, or model-specific message, then consult the exact manual. Do not hold random button combinations based on a different brand's video because the same-looking buttons can control lighting, timer-to-close, Wi-Fi, or enrollment functions.
Lock mode becomes especially plausible when every handheld remote stops at once but the wall station still runs the door normally. It is less likely when only one transmitter fails or when the door produces the same partial movement from every control.
If a house guest, cleaner, child, or recent service visit may have changed the wall-station setting, note that timing without treating it as proof. Confirm the displayed state through the owner's instructions.
After changing only the verified lock setting, count the authorized controls and test them deliberately. A remote kept in a vehicle, a keypad, and a second household remote may not all behave the same way.
If wireless controls still fail together, preserve the current programming and move to shared receiver, antenna, power, compatibility, and interference checks. Randomly erasing the memory creates a new access problem and removes evidence about what was previously working.
| Observed pattern | Reasonable next check | Avoid |
|---|---|---|
| One remote fails; another works | Battery, case condition, compatibility, enrollment | Adjusting opener force or travel |
| All remotes fail; wall control works | Verified lock mode, receiver indicators, antenna, interference | Erasing every control immediately |
| Remote opens but will not close | Photo eyes, clear path, model diagnostics | Bypassing sensors |
| Remote works only very close | Fresh exact battery, remote damage, antenna, new interference | Replacing the whole door system by guess |
| Every control causes abnormal movement | Door and opener system diagnosis | Repeated cycling |
Reprogram only with the exact manual and a complete control inventory
A remote can lose enrollment after a receiver memory reset, control-board replacement, certain programming procedures, or an intentional security change. It should not be assumed simply because a fresh battery did not help.
First confirm that the remote model and frequency technology are compatible with the opener. Similar-looking remotes are not necessarily interchangeable, and a universal remote may support only certain manufacturers, generations, or learn-button types.
Before using any learn or program button, count every remote, keypad, vehicle control, and accessory that must remain authorized. Some short presses enroll one device; some long presses erase the receiver's entire memory.
The timing and indicator sequence are model specific. Work from the official manual for the opener and remote, keep the door area clear, and avoid climbing or reaching above shoulder level without a stable, appropriate setup.
After enrollment, test one control at a time and label any spare so the household knows which door it operates. If an old remote was lost or stolen, a deliberate full-memory erase and controlled re-enrollment may be appropriate, but that is a security decision rather than a casual troubleshooting step. Document the final control count, and remove batteries from retired transmitters before secure disposal or recycling.
Investigate reduced range and radio interference methodically
Range that gradually shrinks often points first to a weakening battery or deteriorating remote, while a sudden range change may follow a new light bulb, charger, power supply, appliance, security device, vehicle accessory, or nearby electronic installation. FCC consumer information about radio-frequency interference (opens in a new tab) explains that unwanted radio signals can disrupt reception and may come from equipment within a home. That does not identify a culprit by itself, but it supports a controlled change-one-thing-at-a-time method.
Begin with the exact fresh remote battery and a normal test from outside the closed garage, keeping the vehicle in a consistent position. Compare a second compatible remote if available.
Look from the floor to see whether the opener's receiver antenna is visibly present, undamaged, and hanging as the manufacturer intended; do not open the housing or reroute internal wiring. Note whether range changes with the opener light on, a particular household device operating, or one vehicle parked nearby.
Do not unplug safety equipment, disable security devices, or disassemble electronics to hunt for interference. If one recently added, nonessential plug-in device can be switched off safely, compare one test with it off and restore the normal condition afterward.
Repeating random changes makes the result unreliable. Persistent short range across known-good compatible remotes may involve the receiver, antenna connection, control board, local radio environment, or product compatibility and deserves model-specific diagnosis.
Range slowly declined
Start with the exact fresh battery and inspect the remote for wear, moisture, or impact damage.
Range changed after an event
Record new lighting, electronics, power work, vehicle accessories, outages, or storms without assuming cause.
Every remote has poor range
Preserve the controls and evaluate receiver, antenna, compatibility, power, and interference as shared paths.
Know when the remote is not the real repair
If the opener receives commands but the motor hums, the rail flexes, the trolley moves without the door, or the door starts and stops, a new remote is unlikely to solve the condition. The opener is intended to move a mechanically sound and properly balanced door. Broken springs, displaced cables, track problems, damaged sections, frozen weather seals, or binding hardware can make an otherwise good control appear unreliable because the system cannot complete the requested travel.
Do not use the emergency release as a test on a raised, crooked, unusually heavy, or questionable door. Disconnecting the trolley may remove one restraint and allow sudden movement. Likewise, do not adjust force or travel limits to overcome resistance, open the motor housing, replace capacitors or circuit boards from an online symptom match, or touch springs, cables, drums, bottom brackets, or loaded track hardware.
A professional diagnosis should reproduce the control symptom, verify remote compatibility and enrollment, inspect receiver and antenna conditions, then check the door, counterbalance, track, rollers, trolley, protective devices, and programmed travel as one system. The right result may be a battery, remote, receiver repair, control-board repair, opener replacement, or door repair. Starting with observed evidence keeps the scope from becoming an expensive guess.
- Stop if the door is crooked, heavy, off track, unusually noisy, or supported in an uncertain position.
- Do not increase force or change travel settings to make a resistant door move.
- Do not open the operator housing or handle springs, cables, drums, or bottom brackets.
- Treat failed photo-eye protection as a safety fault, not a remote inconvenience.
- Ask for a complete door-and-opener diagnosis when every control produces the same movement problem.
Prepare a useful service request and verify the outcome
Before contacting Heartland, record the opener brand and model, remote model, battery type and installation date, which controls work, the distance and location of each test, the direction requested, and every light, tone, click, or movement response. Include recent events such as a power outage, lightning, new LED bulbs, electrical work, vehicle accessory installation, a lost remote, programming attempt, door impact, or earlier repair. Wide photos of the full opening, opener, wall station, photo eyes, and remote label are more useful than an isolated close-up.
State whether the door is closed, open, or stuck between limits and whether a vehicle is trapped. Mention visible spring, cable, roller, track, or section concerns without approaching or touching them.
Heartland's garage door repair service can coordinate a diagnosis when the symptom crosses the transmitter, receiver, opener, protective devices, or moving door. If the door is sound but the operator is obsolete or incompatible with current controls, the garage door opener installation page outlines replacement planning; suspected counterbalance trouble belongs on the garage door spring repair path.
Closeout should demonstrate normal operation from every retained authorized control, predictable range from normal locations, correct lock-mode behavior, smooth door travel, intended indicator responses, and the manufacturer's protective-device tests. Count newly programmed remotes, remove obsolete access when appropriate, and store the model information and instructions with the household records. If an intermittent condition cannot be reproduced, preserve the symptom notes and agree on the next evidence to capture instead of declaring it solved after one successful press.
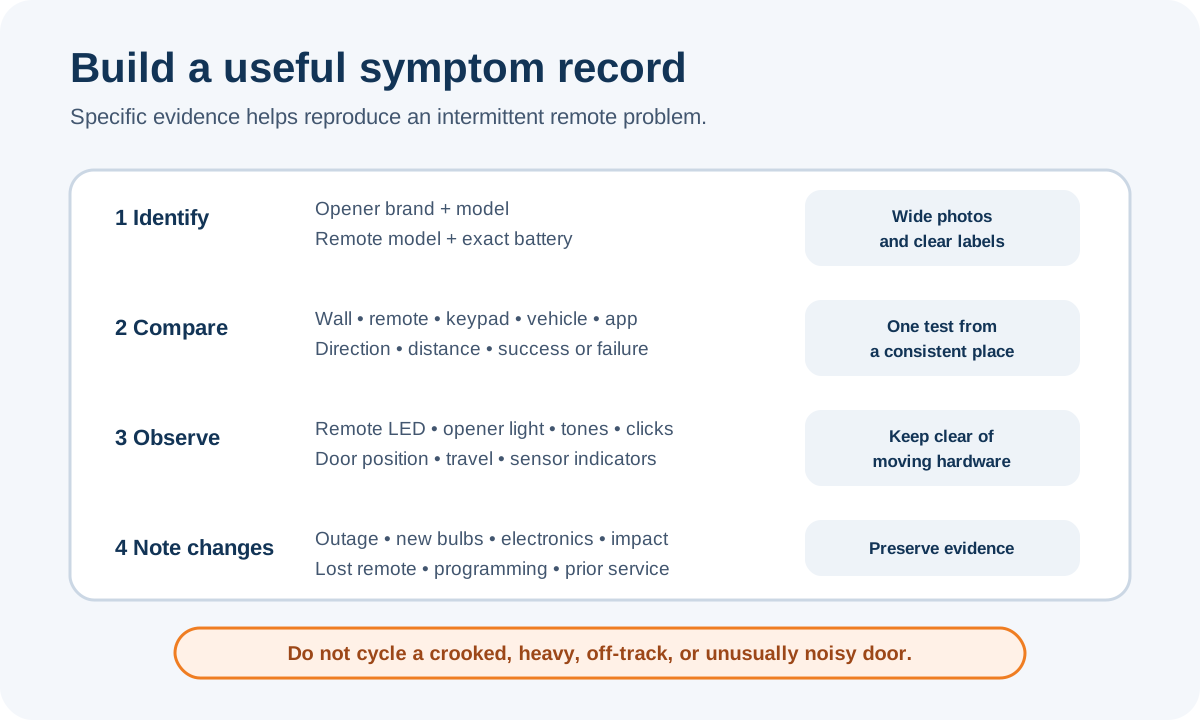
| Detail | Useful example | Why it matters |
|---|---|---|
| Control comparison | Wall button and keypad work; one visor remote fails | Narrows the fault to one transmitter path |
| Range | Works inside garage but not from driveway | Separates response from distance-related failure |
| Direction | Opens remotely but reverses on close | Points toward protection or door-path checks |
| Indicators | Remote LED lights; opener light flashes | Preserves diagnostic evidence |
| Recent change | New garage LED bulbs installed yesterday | Provides a testable timing clue |
| Door condition | Door level and quiet; no visible cable issue | Helps define safe diagnostic scope |
Frequently asked questions
Questions readers ask
Why does my garage door work from the wall button but not the remote?
The remote battery, remote damage, compatibility, enrollment, wall-station lock mode, radio range, interference, antenna, or receiver path may be involved. Compare another authorized remote and follow the exact model manual before erasing or reprogramming controls.
Why will the remote open the garage door but not close it?
The remote may be working while the opener refuses a close command because of a blocked, misaligned, unpowered, or damaged photo-eye system or a problem in the door path. Inspect safely from the floor and never bypass the sensors.
How do I know which battery my garage door remote needs?
Use the remote model number, molded case markings, and official manufacturer instructions. Match the exact battery size, chemistry, polarity, and orientation rather than choosing a coin cell that merely fits the compartment.
Can LED bulbs stop a garage door remote from working?
Some electronic devices can contribute to radio interference, and a lighting change may be a useful timing clue. Test methodically with a known-good battery and consistent location, and do not disassemble the opener or disable essential equipment while investigating.
Should I press the learn button to fix a garage door remote?
Only after identifying the opener and remote models, confirming compatibility, inventorying every authorized control, and reading the exact programming procedure. A long or incorrect press may erase all enrolled remotes and keypads.
When should a technician check the garage door instead of the remote?
Request complete system service when every control produces the same abnormal movement, the door is crooked or heavy, the opener hums without safe travel, protective devices fail, or springs, cables, rollers, tracks, or sections appear damaged.
The right solution depends on the specific lock, door, vehicle or garage door system. Check the Wichita-area service pages, then call or send the details for an evaluation.