Garage door repair
Garage Door Opener Troubleshooting: What Homeowners Can Safely Check
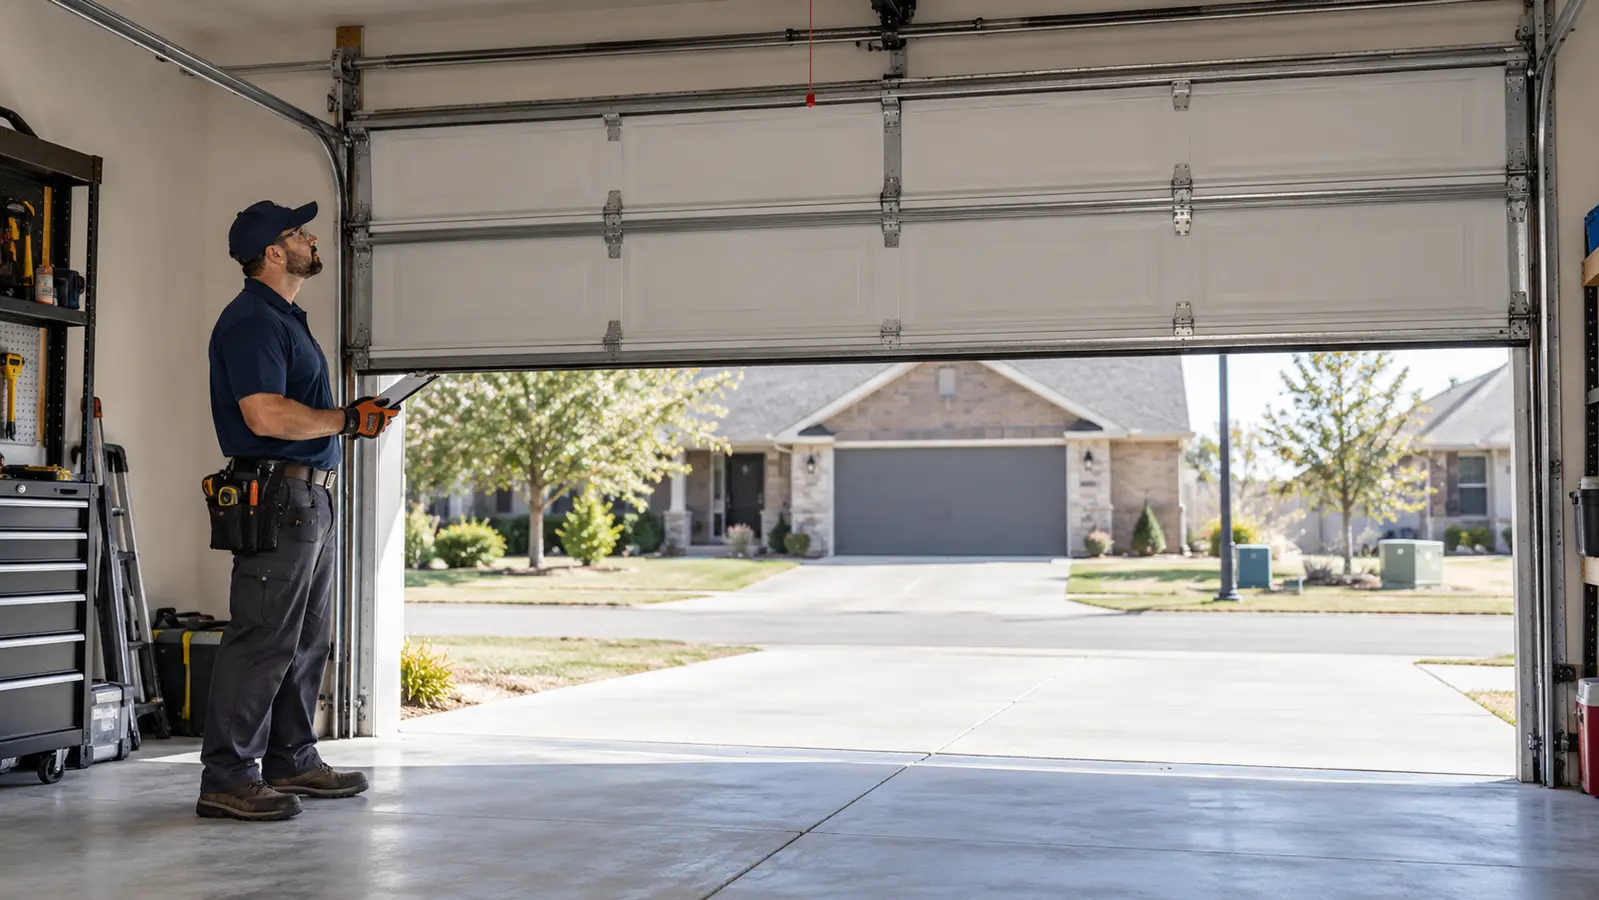
A garage door opener can stop responding, reverse unexpectedly, move only partway, or work from one control but not another. Those symptoms do not all point to the motor, and several safe observations can help a Wichita homeowner describe the problem without taking apart the opener or touching the door's high-tension system. This guide separates useful homeowner checks from adjustments and repairs that belong to a trained technician.
Start with the symptom and keep the door area clear. Confirm the opener has ordinary household power, compare the wall control with the remote, inspect the floor and tracks from a distance for obvious obstructions, and look for visibly dirty, blocked, or knocked-out-of-position photo eyes. Stop if the door is crooked, unusually heavy, noisy, off track, supported by a questionable spring or cable, or if a protective device does not work. Do not adjust force, limits, springs, cables, drums, or opener internals as a troubleshooting shortcut.
A garage door opener can stop responding, reverse unexpectedly, move only partway, or work from one control but not another. Those symptoms do not all point to the motor, and several safe observations can help a Wichita homeowner describe the problem without taking apart the opener or touching the door's high-tension system. This guide separates useful homeowner checks from adjustments and repairs that belong to a trained technician. Continue with the complete library of garage door repair guides when you want to compare related decisions.
Key takeaways
- Describe exactly which control was used, which direction the door moved, and where it stopped or reversed.
- Power, lock modes, remote batteries, and blocked photo eyes are reasonable homeowner-level checks when safely reachable.
- The opener moves a properly balanced door; it should not be used to overcome a heavy, crooked, or binding door.
- Never bypass photo eyes, increase closing force to defeat a reversal, or disconnect a questionable raised door.
- After any correction, the complete door and opener system needs a controlled functional and protective-device check.
Troubleshoot the symptom, not the part you suspect
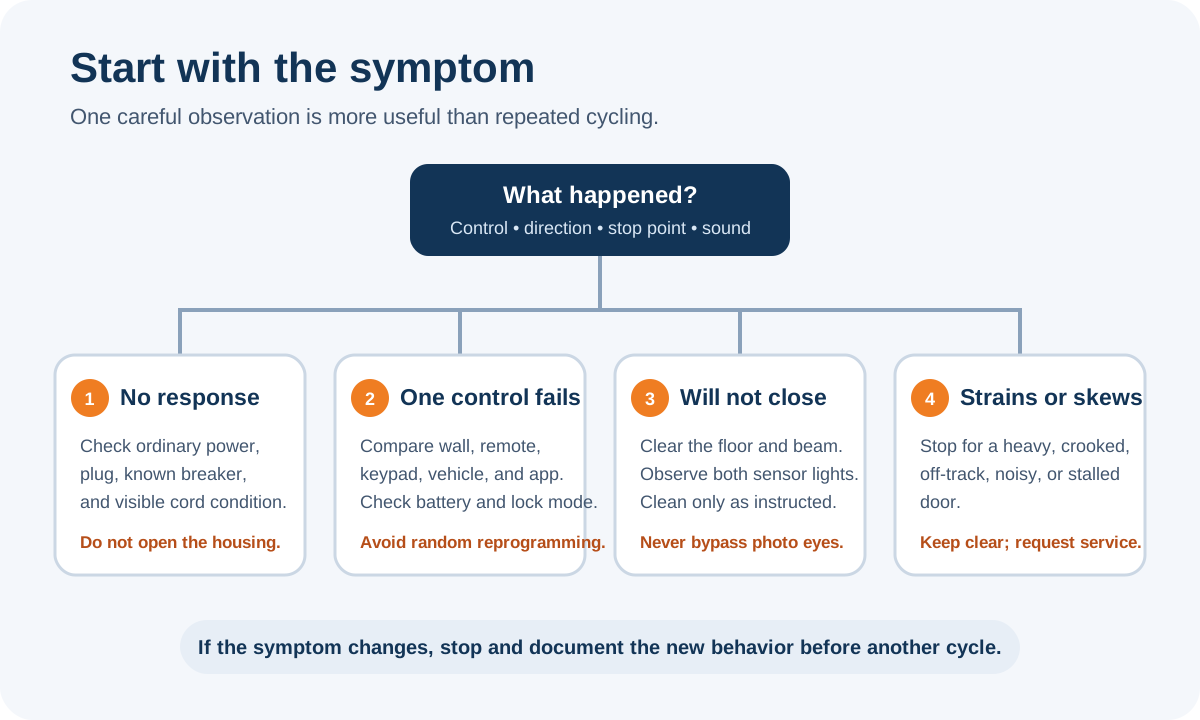
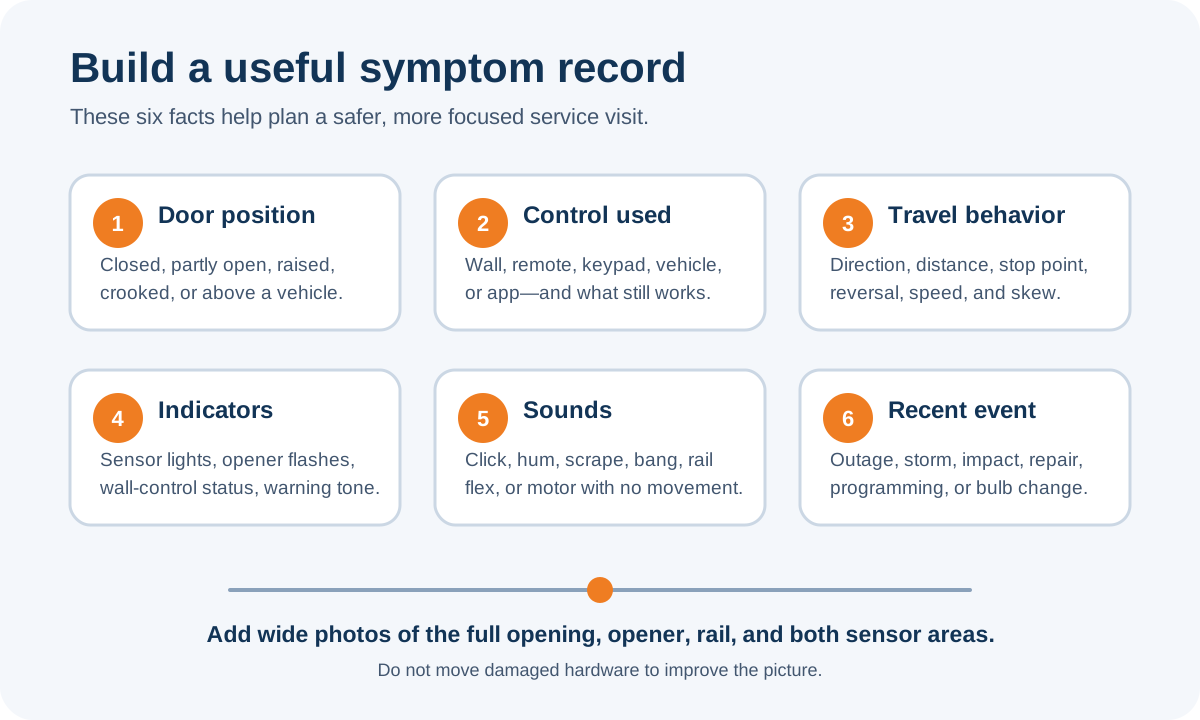
Begin with one complete cycle description. Note whether the door was open, closed, or between limits; whether you pressed a handheld remote, vehicle control, keypad, app, or wall button; what the opener light did; what sounds you heard; how far the door traveled; and whether it stopped, reversed, or never moved. A statement such as “the remote clicks the light on, the motor starts, and the door reverses six inches above the floor” is much more useful than “the opener is broken.” If this condition matches your situation, review the service scope for garage door repair.
Try to distinguish a control problem from a movement problem without repeated cycling. If the wall control works but one remote does not, the likely path is different from a door that will not move from any control.
If the motor runs but the door stays still, continuing to press buttons can damage the trolley, rail, top section, or drive components. One careful observation is useful; a series of forced attempts usually is not.
Keep people, pets, vehicles, bicycles, tools, and stored items away from the opening while you observe. Stand where you can see the full door without being under it or reaching into the track. If the door is hanging, crooked, off track, or supported in an uncertain position, stop immediately and do not test it again.
What started the cycle?
Name the wall button, remote, keypad, vehicle control, or app and whether another control behaves differently.
Where did motion change?
Record the direction, distance, stop point, reversal point, and whether the door reached either limit.
What did you hear or see?
Note light flashes, warning tones, a hum, a click, rail movement, door skew, or visible obstruction.
Understand why safe reversal matters
An automatic garage door is a large moving system operating around vehicles, people, and stored property. Protective functions are not inconveniences to defeat when a door will not close.
The federal safety standard for automatic residential garage door operators (opens in a new tab) includes primary entrapment protection and additional protection requirements for vertically moving residential doors. A reversal or refusal to close can therefore be a safety response, a setup problem, a door problem, or a fault in the protective system—not simply a weak motor. If this condition matches your situation, review the service scope for garage door opener installation.
Do not tape sensors together, hold them above the opening, bridge wiring, defeat a wall-control feature, or keep increasing closing force because the door reverses. Those actions erase information and can remove protection.
Likewise, do not stand under the door to test whether it will stop. Use only the model-specific inspection and test procedure in the owner's manual after the door is known to be mechanically sound.
A protective-device fault deserves a proper diagnosis even when a constant-pressure wall-control behavior appears to move the door. That behavior is not permission to resume normal remote operation. Treat it as a clue, leave the opening secured by an appropriate method, and arrange service when the cause is not a simple visible obstruction or safely correctable alignment issue described by the manufacturer.
Check ordinary power without opening the operator
If the opener is completely silent and no light or indicator responds, look for ordinary household-power clues. Confirm that the opener plug is fully seated in its receptacle if the receptacle is safely reachable from the floor and no cord or outlet damage is visible.
Check whether nearby lights or other loads suggest a broader outage. Review the home's electrical panel only in the same way you would for any tripped household circuit; do not remove covers, touch wiring, or repeatedly reset a breaker that trips again. If this condition matches your situation, review the service scope for garage door spring repair.
Some garage receptacles are protected by a ground-fault device located elsewhere in the garage or home. If you know the correct protected receptacle and it can be reset safely, follow its normal reset instructions. A device that will not reset, a hot or discolored plug, buzzing, a burning smell, damaged insulation, water exposure, or repeated breaker operation calls for an electrician or qualified service—not another attempt.
Do not open the opener housing to look for a fuse, capacitor, control board, or loose wire. Components can retain energy, and the correct diagnostic sequence depends on the model. Record the brand, model, approximate age, indicator state, and what happened immediately before the failure, such as a storm, outage, bulb replacement, or other electrical work.
- Confirm the household has power and the opener plug appears normally seated.
- Look for a familiar tripped breaker or known GFCI protection without opening electrical equipment.
- Stop for heat, odor, arcing, water, damaged cords, or a breaker that trips repeatedly.
- Leave housings, capacitors, circuit boards, and field wiring to qualified service.
Compare the wall control, remote, keypad, and app
When one control works and another does not, the difference narrows the problem. A wall control that operates the door while one handheld remote fails may point to the remote battery, programming, remote damage, radio interference, or a lock or vacation mode that affects wireless controls.
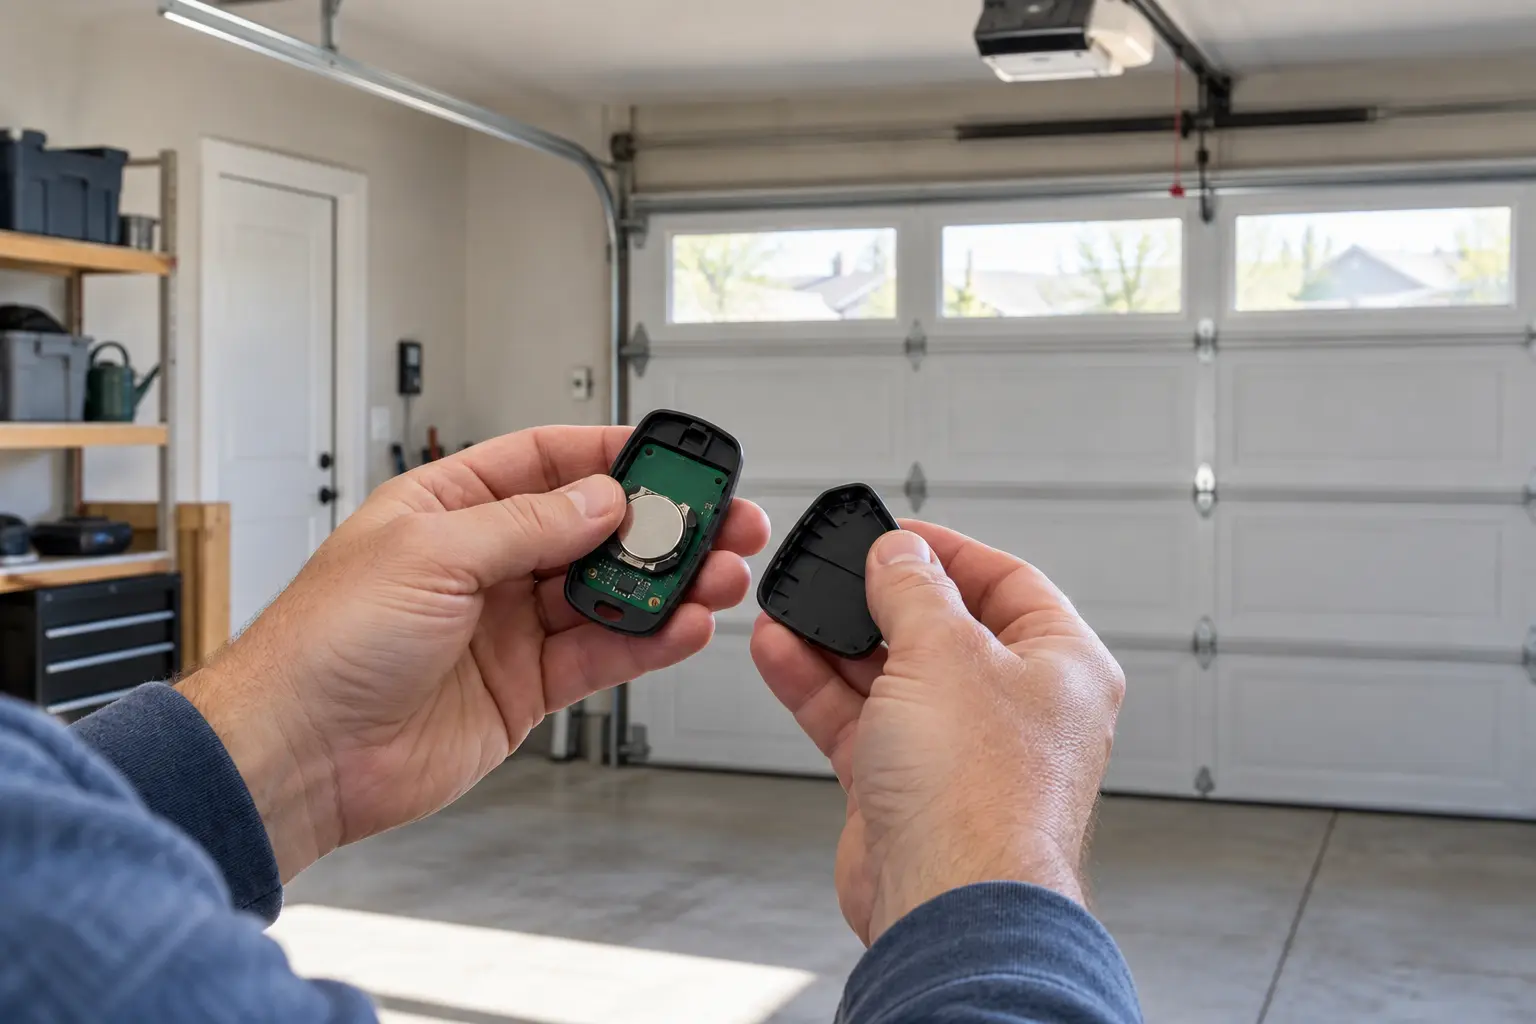
Check the remote battery orientation and replacement type, then consult the opener manual for the exact indicator and programming behavior. Avoid random button combinations because some procedures erase every programmed control.
If neither the remote nor keypad works but the wall button does, review whether the wall station displays a lock symbol or status light. The wording and behavior differ by manufacturer, so use the manual for that model. If a vehicle button or smart-home app is the only failed method, separate account, network, hub, phone, and vehicle programming from the opener's ability to move the door with its local controls.
If every control produces the same hum, partial movement, reversal, or strain, stop treating the issue as a transmitter problem. The door, counterbalance, track, trolley, travel setup, or operator drive may be involved. Continuing to reprogram remotes will not correct mechanical resistance, and repeated cycles can make the underlying condition harder to diagnose.
| Observed pattern | Safe homeowner check | What not to assume |
|---|---|---|
| Wall control works; one remote does not | Battery, battery orientation, visible damage, model instructions | The motor or door must be defective |
| Wall works; all wireless controls do not | Wall-station lock mode and model manual | Every remote lost programming at once |
| App fails; local controls work | Phone, account, network, and app status | The door needs mechanical repair |
| Every control produces the same movement fault | Stop cycling and document the door behavior | A new remote will solve resistance or imbalance |
| No control or indicator responds | Ordinary power and visible cord/receptacle condition | Opening the housing is a safe next step |
Inspect the photo-eye area from the floor
For a door that opens normally but reverses or refuses to close, inspect the low-mounted photo-eye area. Remove ordinary objects from the opening and the nearby floor.
Look for leaves, storage bins, spider webs, dust, condensation, or a sensor bracket that was bumped. Clean only the exposed lens gently according to the manufacturer's directions, and do not loosen fasteners or move wiring unless the manual clearly describes a homeowner adjustment you can perform from the floor.
Compare the indicator lights on both sensors with the manual. A dark, flickering, or differently colored indicator may suggest lost power, obstruction, misalignment, wiring trouble, or a model-specific status.
Sunlight and reflective surfaces can sometimes affect a beam, but do not shade a sensor with a permanent object that creates another hazard. Record which side shows the unusual indicator and whether the behavior changes when the door area is completely clear.
Inspect the visible low-voltage wire only from a safe position. A loose staple, cut insulation, pet damage, corrosion, or wire pulled from a sensor is a reason to stop and arrange the correct repair. Do not splice unknown wiring, combine conductors, relocate the eyes higher, or use the opener normally if the protection does not pass the model's prescribed test after the visible obstruction is removed.
Look for visible door-path problems without touching hardware
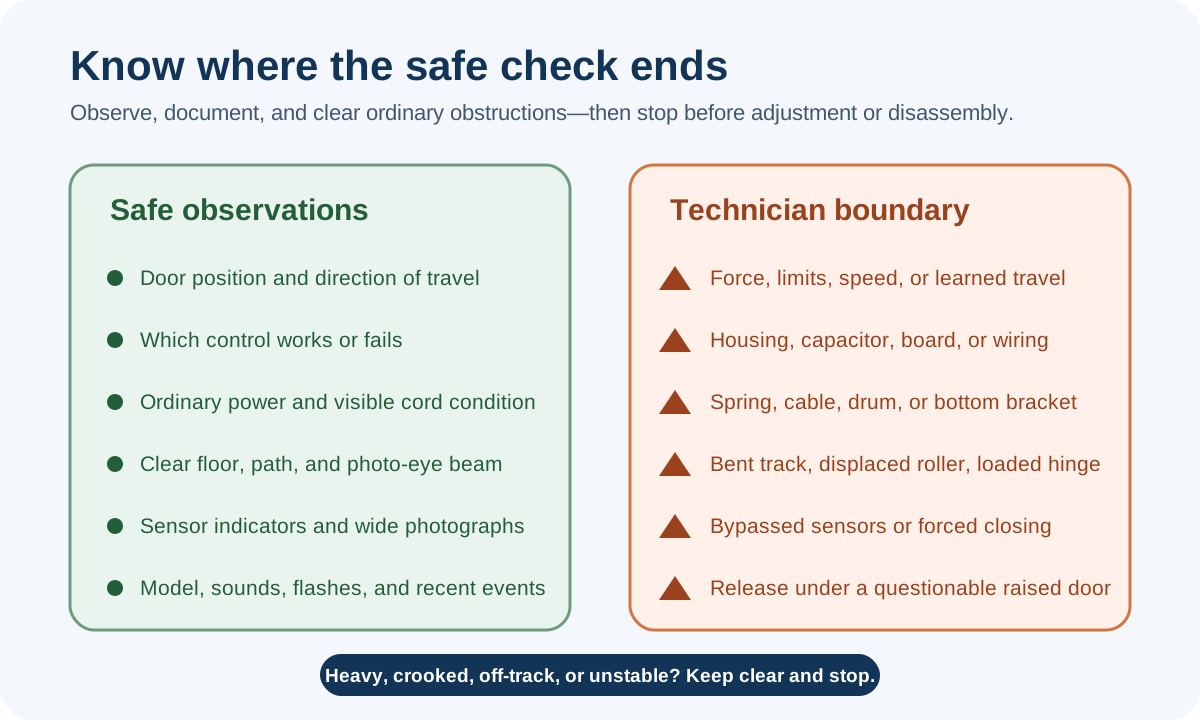
The opener reacts to the door it is connected to. From outside the travel path, look for a broom, cord, stored item, accumulated debris, bent track, displaced roller, loose-looking hinge, damaged section, or weather seal folded under the bottom edge. Do not reach into a track, straighten metal, remove a roller, tighten a hinge on a loaded section, or pull an object trapped under a suspended door.
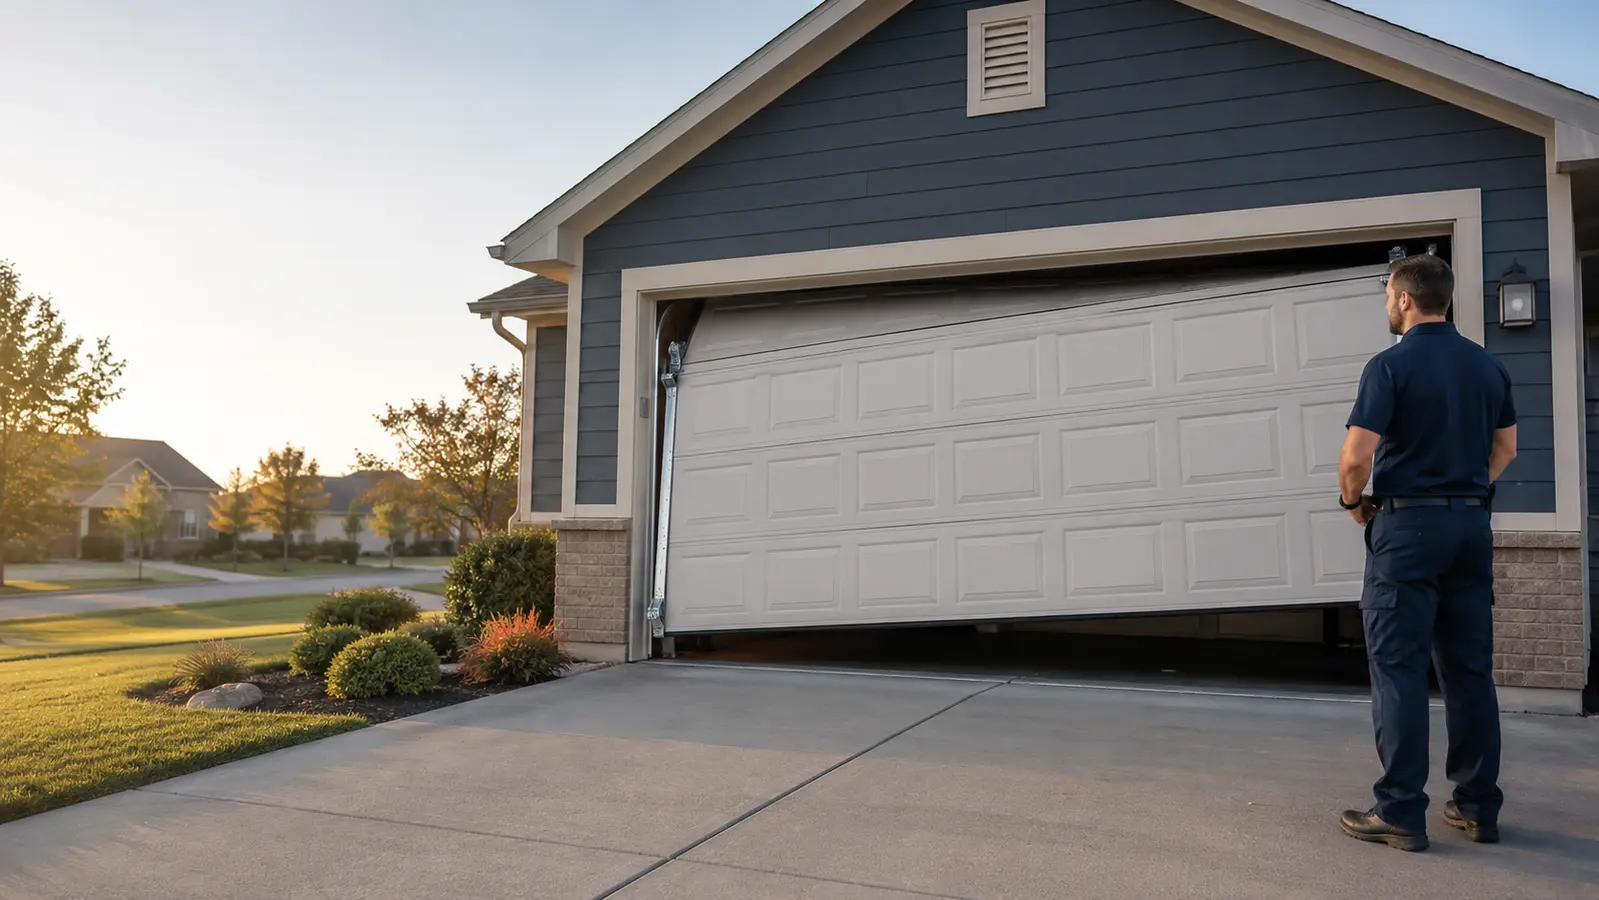
Watch whether the door stays level as it begins to move. A visibly crooked door, a cable that appears slack or displaced, a roller leaving the track, or a section that bows sharply is a stop signal.
The opener can temporarily mask a counterbalance or alignment problem, and another cycle may worsen the condition. Keep everyone clear and leave the door where it is unless a technician gives a safe, situation-specific instruction.
Listen for the difference between an operator sound and a door sound. A hum from the motor with no door movement, a rail that flexes, a trolley that moves without the door, a loud bang, scraping at one side, or a change in the door's speed are distinct clues.
Do not lubricate the opener belt, chain, rail, photo eyes, or electrical components as a general cure. Product-specific maintenance points and lubricants belong in the manual.
Ordinary obstruction
A loose item in the path can be removed only when the door is stable and the area is safely accessible.
Track and section condition
Look for visible damage, a displaced roller, rubbing, skew, or a folded seal without reaching into hardware.
Cable, spring, or crooked door
Keep clear and request service; do not attempt another cycle or manual release.
Treat the emergency release as a control, not a test tool
The emergency release disconnects the door from the opener trolley on many systems. It does not make a damaged or unbalanced door safe.
If the door is raised, crooked, unusually heavy, affected by a broken spring, or supported in an uncertain position, pulling the release can allow sudden movement. Never use it merely to see what happens.
A manual balance check may be part of professional diagnosis or manufacturer maintenance instructions, but it should occur only after the door has been assessed as safe, with the correct position and precautions for that system. Homeowners should not disconnect a questionable door, lift a heavy door, clamp tracks, wind springs, adjust cables, or work around drums and bottom brackets. Those parts can carry substantial force even when the opener has no power.
If a vehicle is trapped, explain that condition when requesting service. Do not force the top section with the opener, attach another pulling device, or improvise a release from outside. A technician can evaluate the door, counterbalance, opener connection, and access constraints together and choose a controlled approach.
Know which adjustments are not homeowner troubleshooting
Travel limits, closing force, speed profiles, encoder settings, and learned door characteristics affect how an opener moves and responds to resistance. Changing them without diagnosing the door can hide binding or create an unsafe closing condition. If a limit appears wrong after a power event, repair, or installation, use the exact manual for identification, but leave adjustments to a trained technician when door condition, force, or protective behavior is uncertain.
The DASMA garage door opener safety tips (opens in a new tab) emphasize watching the door while it closes, keeping controls away from children, using a properly balanced door, and taking reversal protection seriously. Those principles also set the boundary for troubleshooting: observe and remove ordinary obstructions, but do not make the opener overpower a door or ignore a safety response.
Do not replace a capacitor, gear, logic board, travel module, rail part, trolley, sensor wiring, or motor assembly solely from an online symptom match. Similar symptoms can come from different failures, and the correct part may depend on model, revision, rail type, door weight, and setup. A complete diagnosis also checks the door before condemning the opener.
- Do not increase force to overcome a reversal or binding point.
- Do not change limits until the door and protection systems have been evaluated.
- Do not open the motor housing or touch capacitors, boards, or field wiring.
- Do not adjust springs, cables, drums, bottom brackets, or structural supports.
- Do not bypass sensors or treat constant-pressure closing as normal operation.
Prepare a useful service request and verify the repair
Before contacting Heartland, record the opener brand and model, door type, approximate age, first symptom, direction of travel, stop or reversal point, control used, indicator lights, warning sounds, and any recent outage, storm, impact, repair, or programming change. Add wide photos of the entire interior opening, opener and rail, both sensor areas, and any visible damage. Avoid close photos that remove location context.
State whether the door is fully closed, partly open, or stuck above a vehicle; whether another exterior entrance is available; and whether a cable, spring, roller, track, or section looks abnormal. That information helps the technician prepare for an opener-only issue versus a complete door-system problem. It also helps avoid suggesting a control or programming step that is inappropriate for the door's current position.
After repair, a complete closeout should demonstrate normal operation from authorized controls, smooth door travel, correct limits, intended lighting and warning behavior, and the manufacturer's protective-device tests. Any remotes, keypads, vehicle controls, or apps that were erased or replaced should be counted and re-enrolled deliberately. Keep the model information, service notes, and updated owner instructions where the household can find them.
Heartland's garage door repair service can coordinate diagnosis when the symptom may involve the opener, door, track, rollers, counterbalance, or protective devices. If the operator is obsolete, incompatible, or uneconomical to restore after the door is confirmed sound, the garage door opener installation page explains the planning considerations for a replacement. Suspected spring or cable trouble should be treated as a garage door spring repair issue, not an opener adjustment.
| Detail | Example | Why it helps |
|---|---|---|
| Starting position | Fully closed | Clarifies risk and available tests |
| Control used | Wall station works; remote does not | Separates control from movement paths |
| Travel behavior | Closes halfway, then reverses | Narrows where resistance or protection appears |
| Indicators | Left sensor steady; right sensor flickers | Preserves model-specific diagnostic evidence |
| Recent event | Power outage the previous evening | Connects timing without assuming cause |
| Visible door condition | Door level; no loose cable observed | Helps plan safe next steps |
Frequently asked questions
Questions readers ask
Why does my garage door open but not close with the remote?
A blocked, dirty, misaligned, unpowered, or damaged photo-eye system is one common path, and some wall controls also have a lock mode that affects wireless commands. Clear the opening, inspect visible indicators, and consult the model manual. Do not bypass sensors or rely on forced closing as normal operation.
Is it safe to adjust the garage door opener force?
Not as a first troubleshooting step. Excessive force can hide a binding, unbalanced, damaged, or obstructed door and can affect protective behavior. The door and opener should be diagnosed before force or travel settings are changed.
Can I pull the emergency release when the garage door is stuck open?
Do not pull it when the raised door is heavy, crooked, damaged, affected by a spring or cable problem, or otherwise uncertain. Disconnecting the opener may allow sudden movement. Keep clear and get situation-specific professional guidance.
Why does the opener hum but the garage door not move?
Possible causes include a door that cannot move safely, a disconnected or damaged trolley, a drive problem, internal operator trouble, or a counterbalance failure. Stop repeated attempts, observe from a safe distance, and have the complete door and opener system evaluated.
Should I replace the opener if one remote stopped working?
Usually not based on that symptom alone. Compare the wall control and other authorized controls, check the remote battery and visible condition, review lock mode, and use the exact model instructions before deciding the operator itself has failed.
What information should I give a garage door technician?
Provide the opener brand and model, door position, control used, direction and point of failure, indicator lights, sounds, visible door condition, recent power or impact events, and wide photos that show the full opening and both sensor areas.
The right solution depends on the specific lock, door, vehicle or garage door system. Check the Wichita-area service pages, then call or send the details for an evaluation.